Workflow.Nodes
iRoboFlow custom Workflow Nodes are used to create a workflow that do some actions.
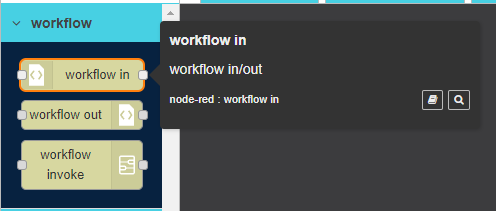
Workflow in Node is used as an entry point to run Workflow from iRobControlPanel.
|
Workflow created in iRoboFlow can be visible either to iRoboControlPanel user or Robot user (iRoboStudio); through some properties. |
To Edit Workflow in node follow these steps:
- Double click on Workflow in node
- Edit Workflow in node Panel is opened to the right as shown in the image below.
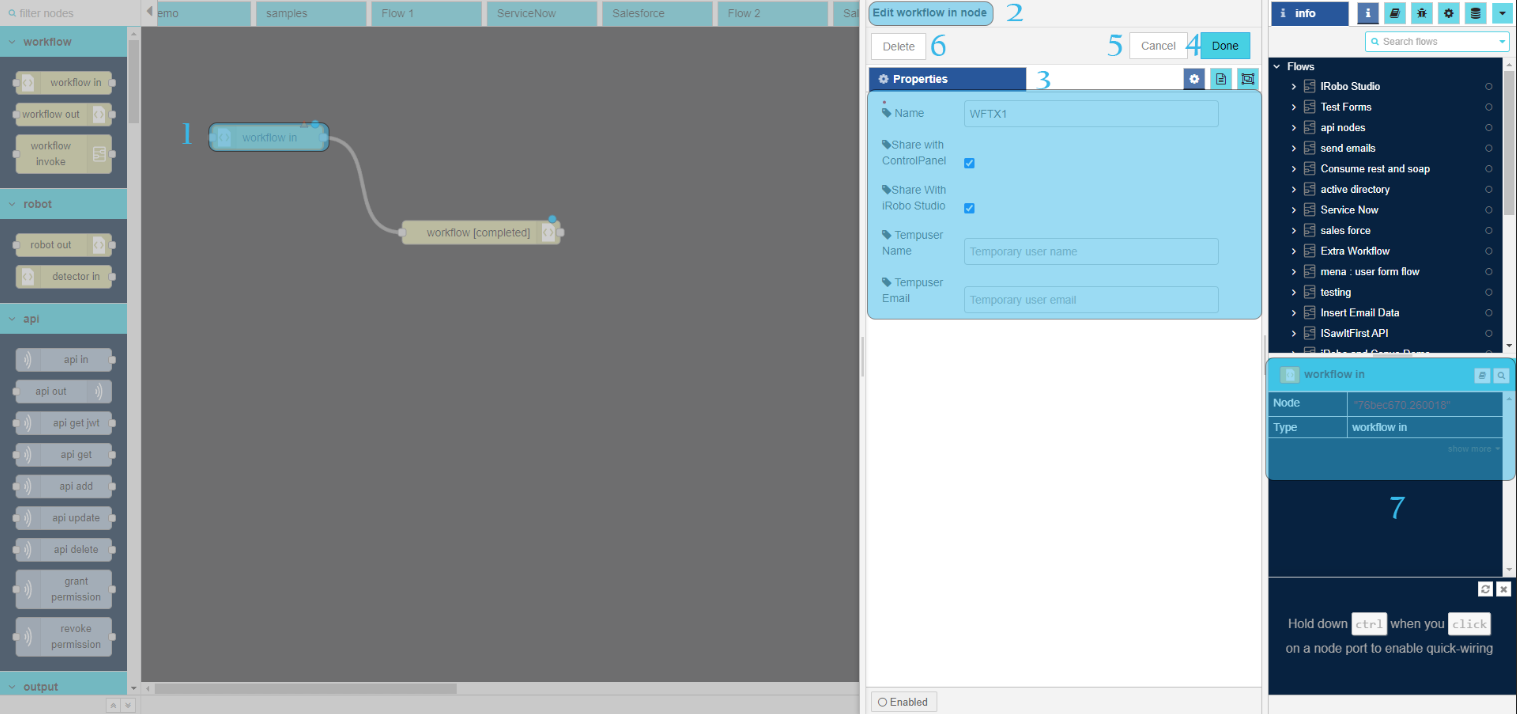
- Modify any of the node properties.
3.1. Name: enter node name.
3.2. User form Checkbox: if checked, Workflow is visible in iRoboControlPanel.
3.3. Robot form Checkbox: if checked, Workflow is visible in iRobo Studio.
- Click Done button: save changes to the system.
- Click Cancel button: cancel operation and close screen.
- Click Delete button: deletes node from the Flow.
 Information Panel: display node information; such as node id, name and type.
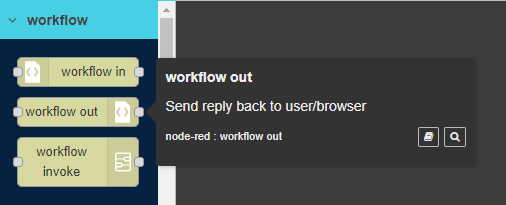
Workflow Out Node is used to end a Workflow with selecting its state; such as: Completed successfully.
To Edit Workflow out node follow these steps:
- Double click on Workflow out node
- Edit Workflow out node Panel is opened to the right as shown in the image below.
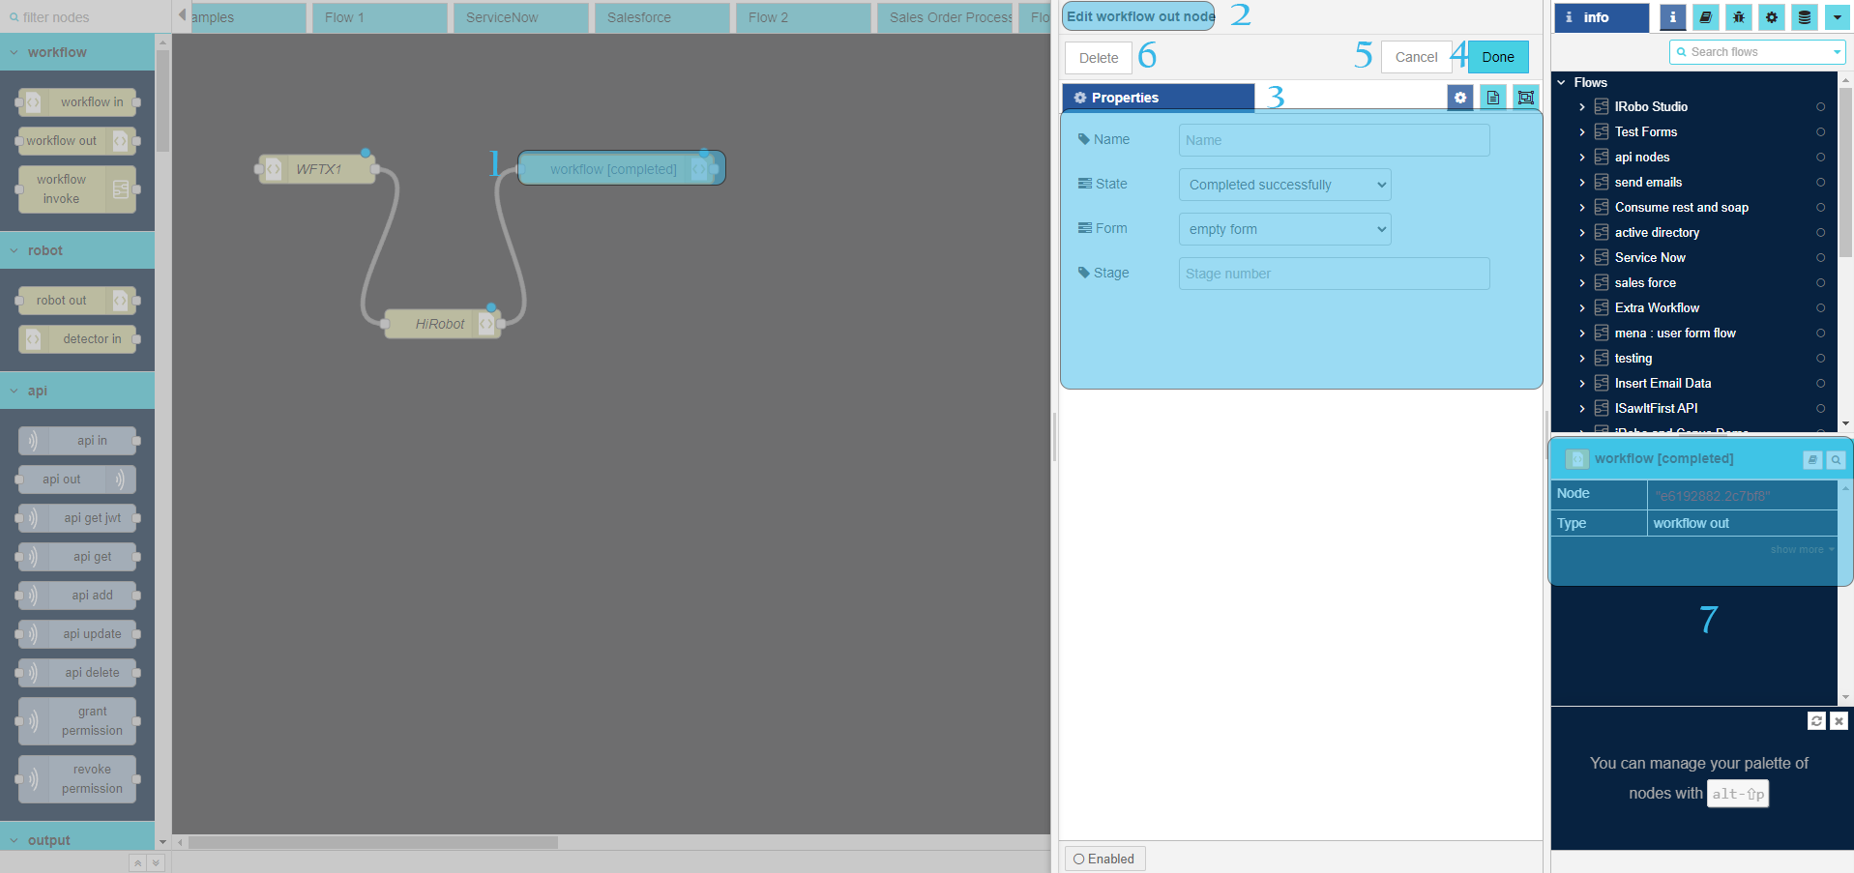
- Modify any of the node properties.
3.1. Name: enter node name.
3.2. State drop-down menu: select Workflow node out state from drop-down menu;
such as completed successfully, waiting for input, pending,completed with error.
3.3. Form drop-down menu: if checked, Forms created in iRoboControlPanel.
- Click Done button: save changes to the system.
- Click Cancel button: cancel operation and close screen.
- Click Delete button: deletes node from the Flow.
- Information Panel: display node information; such as node id, name and type.
Created with the Personal Edition of HelpNDoc: Full-featured Help generator