Robot.Nodes
iRoboFlow custom Robot Nodes are used to connect to Robot in iRobo Studio, and use an existing Workflow that automates a business process.
iRobo Solution real power appears here; where the user can combine iRoboFlow with iRobo Studio using Robot Nodes.
Robot Node is used to run a Robot from iRobo Studio.
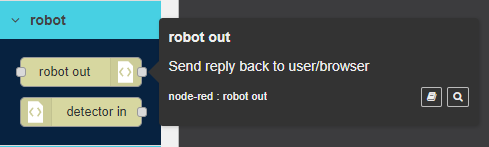
To Edit robot out node follow these steps:
- Double click on robot out node
- Edit robot out node Panel is opened to the right as shown in the image below.

- Modify any of the node properties.
3.1. Name: enter node name.
3.2. Robot: select Robot user account from drop-down list.
3.3. Action: select Workflow created by selected Robot user account from drop-down list.
- Click Done button: save changes to the system.
- Click Cancel button: cancel operation and close screen.
- Click Delete button: deletes node from the Flow.
 Information Panel: display node information; such as node id, name and type.
Example on robot out Node
This example shows how robot out node runs Workflow that sends email and do any other actions in iRobo Studio.
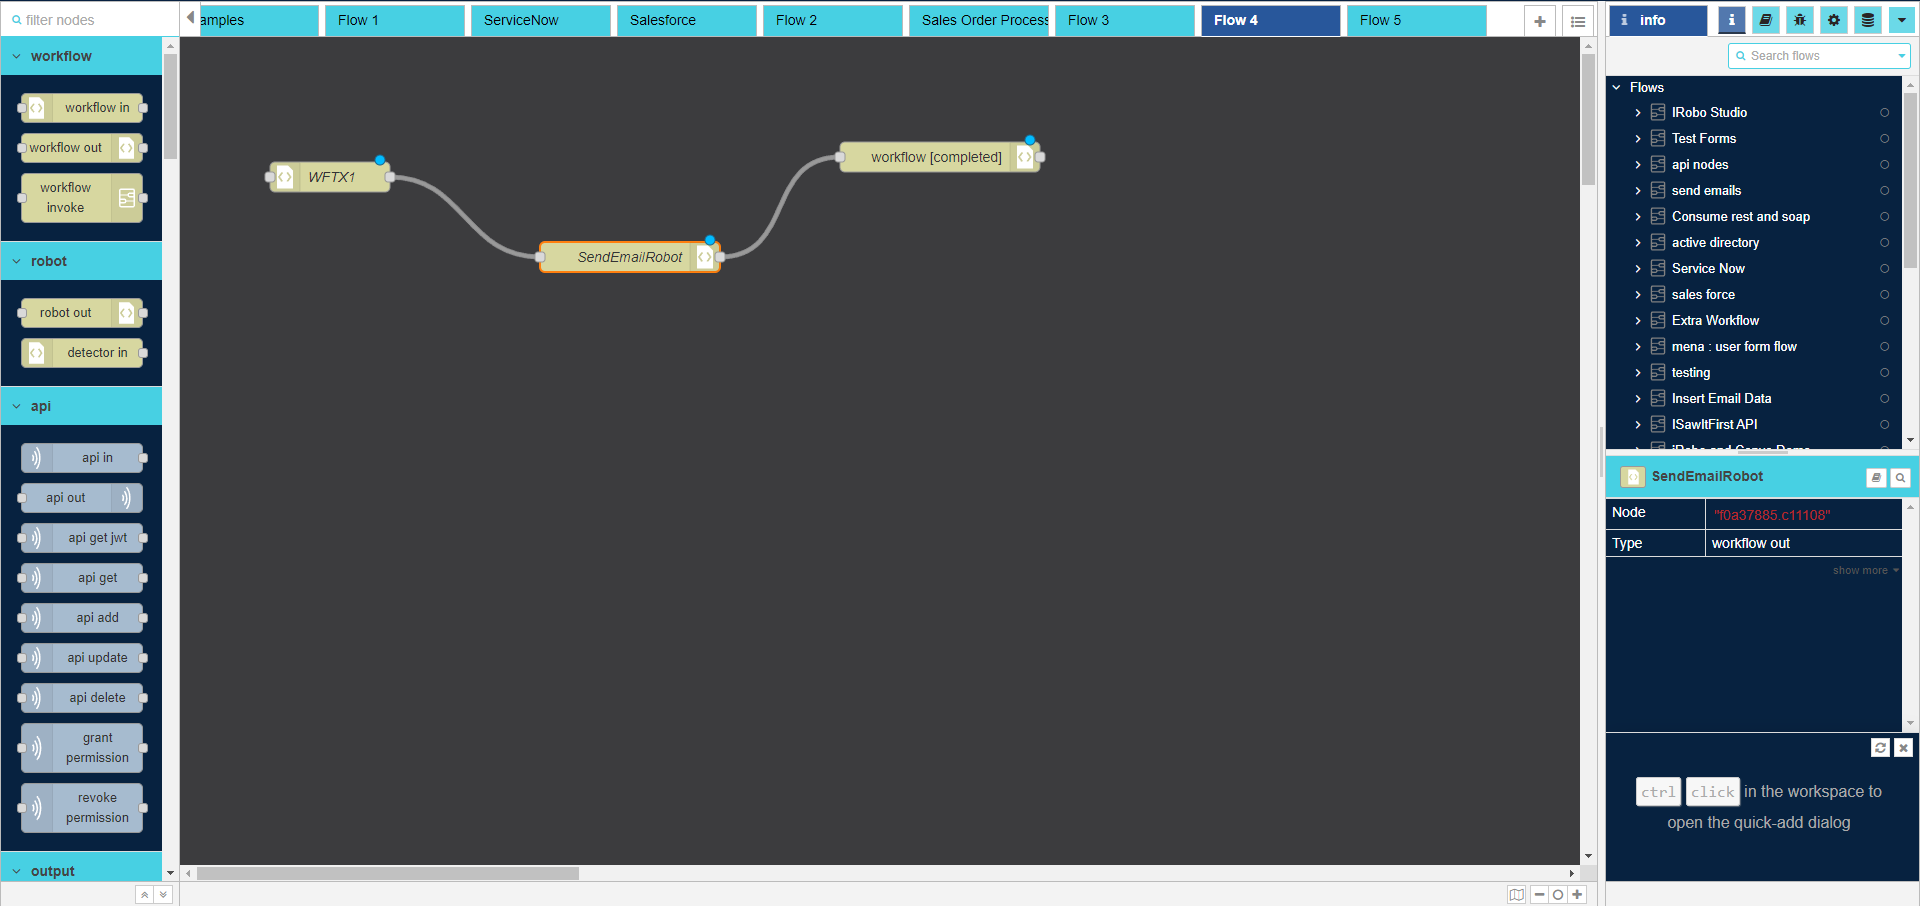
Follow these steps to apply the above example:
- Drag Workflow in node to the Flow.
- Double click on Workflow in node to modify its properties as shown in the image below.
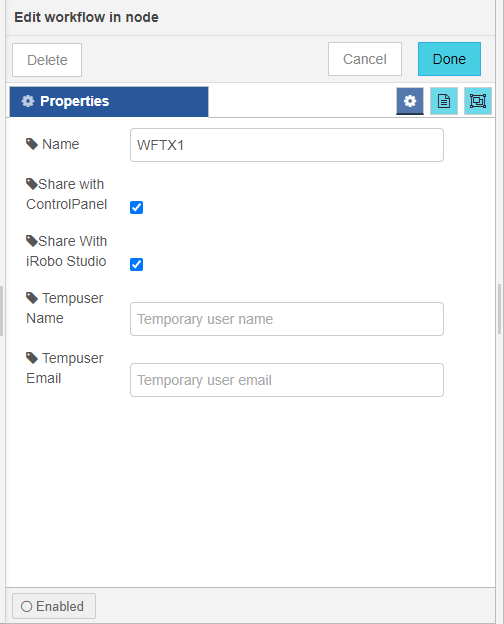
- Set Workflow in node properties from Edit Workflow in screen.
3.1. User form Checkbox: if checked, Workflow is visible in iRoboControlPanel.
3.2. Robot form Checkbox: if checked, Workflow is visible in iRobo Studio.
- Drag robot out node to the Flow.
- Set robot out node properties from Edit robot out screen.

5.1. Select Robot user account from Robot drop-down list.
5.2. Select Workflow from Action drop-down list.
5.3. Click on Done button: to save properties.
- Connect Workflow in node to robot out node with node connectors.
- Drag Workflow out node to the Flow.
- Double click on Workflow out node to modify its properties as shown in the image below.
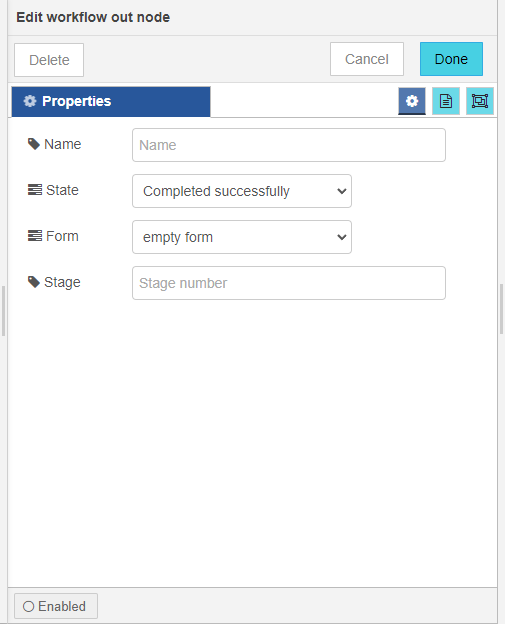
- Set Workflow out node properties from Edit Workflow out screen.
9.1. Select the status of Workflow when it is completed from State drop-down list.
- Click on
 button: to deploy the created Flow.
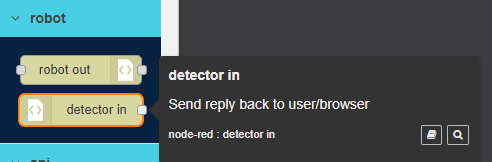
Detector in Node is used to select a Detector already created in iRobo Studio.
|
For more information about Detector, go to Event Detector Activity in iRobo Studio. |
To Edit detector in node follow these steps:
- Double click on detector in node
- Edit detector in node Panel is opened to the right as shown in the image below.
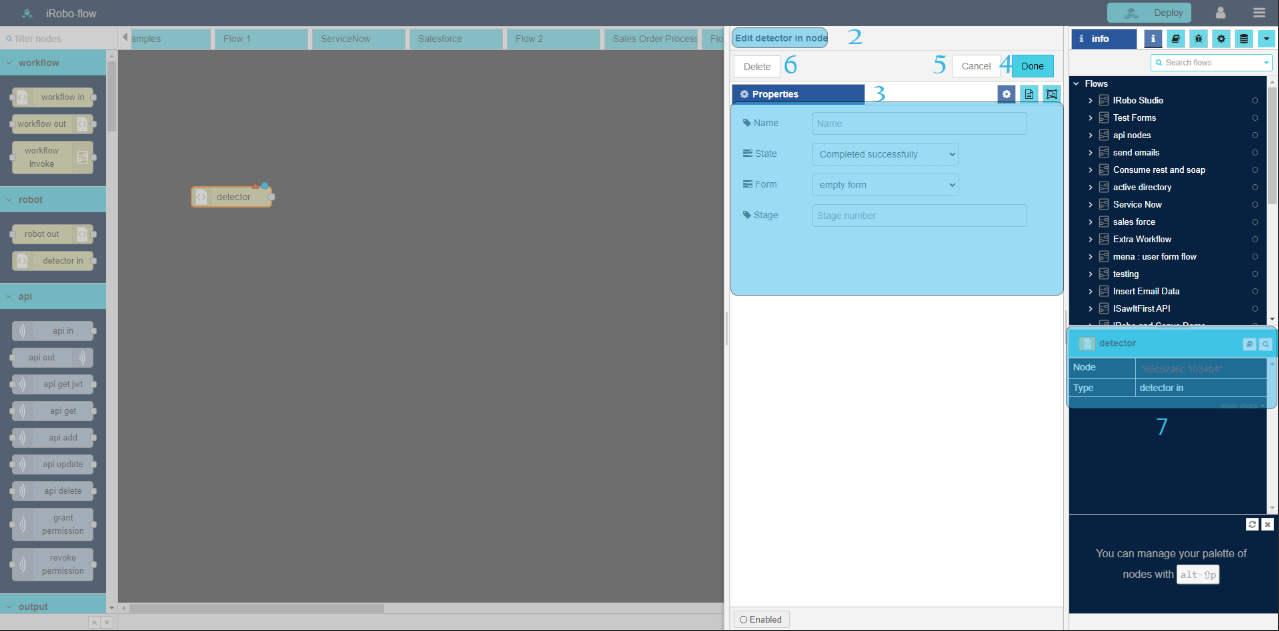
- Modify any of the node properties.
3.1. Name: enter node name.
3.2. detector: select detector created by Robot user account from drop-down list.
- Click Done button: save changes to the system.
- Click Cancel button: cancel operation and close screen.
- Click Delete button: deletes node from the Flow.
- Information Panel: display node information; such as node id, name and type.
Created with the Personal Edition of HelpNDoc: iPhone web sites made easy