API.Nodes
iRoboSolutio integrates with other systems through API nodes; by calling other systems APIs.
API nodes can also get/update/delete Data in Database DB.
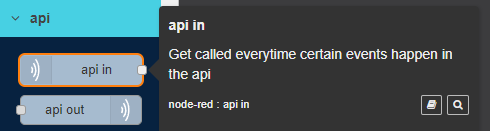
API in Node is used to listen on a collection of entities/ assets from Database DB.
To Edit api in node follow these steps:
- Double click on api in node
- Edit api in node Panel is opened to the right as shown in the image below.

- Modify any of the node properties.
3.1. Name: enter node name.
3.2. Config: select api configuration from list, or click on Add new api config.., screen appears as shown below.
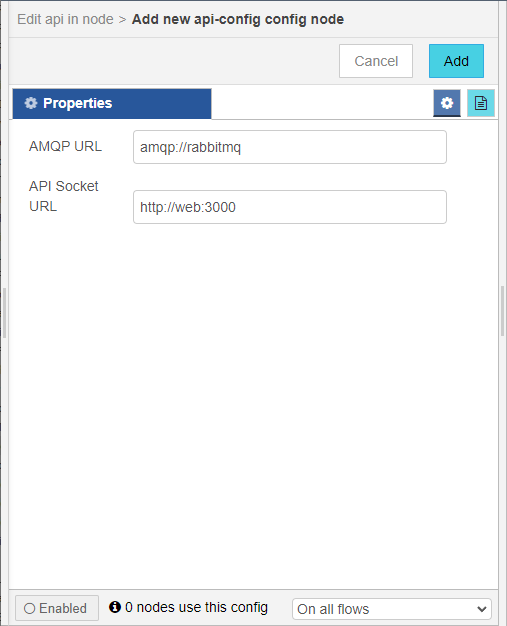
3.2.1. Add new api-config config node screen opens.
3.2.2. Click Add button: add generated config node to Config list.
3.2.3. Click Cancel button: cancel operation and close screen.
3.3. Insert: if checked; allows node to insert data into selected Collection with specified Type.
3.4. Update: if checked; allows node to update data in selected Collection with specified Type.
3.5. Remove: if checked; allows node to remove data from selected Collection with specified Type.
3.6. Runmode: select asynchronously, synchronously.
|
Asynchronously: each time the user adds entity/ asset of the same collection type; its data appears in the Debug Panel to track. Synchronously: allows node to do an action on adding a new entity/ asset of the same collection type. |
3.7. Entity Type: enter entity/ asset defined type in Database.
3.8. Collection: select entity/ asset collection in Database.
- Click Done button: save changes to the system.
- Click Cancel button: cancel operation and close screen.
- Click Delete button: deletes node from the Flow.
 Information Panel: display node information; such as node id, name and type.
Example on API in Node
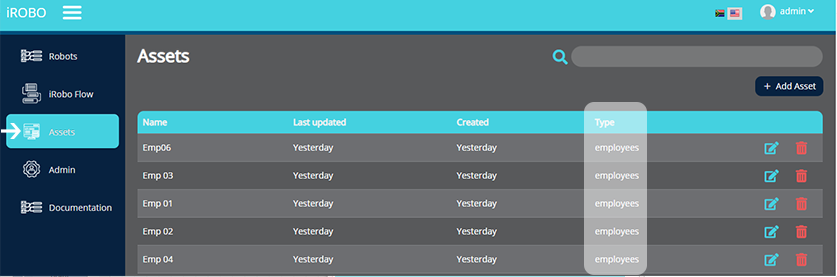
This example shows how API in node listens to adding asset/ entity in Database. Each time the user adds an asset from iRoboControlPanel, it triggers a message in Debug Panel.
Follow these steps to apply the above example:
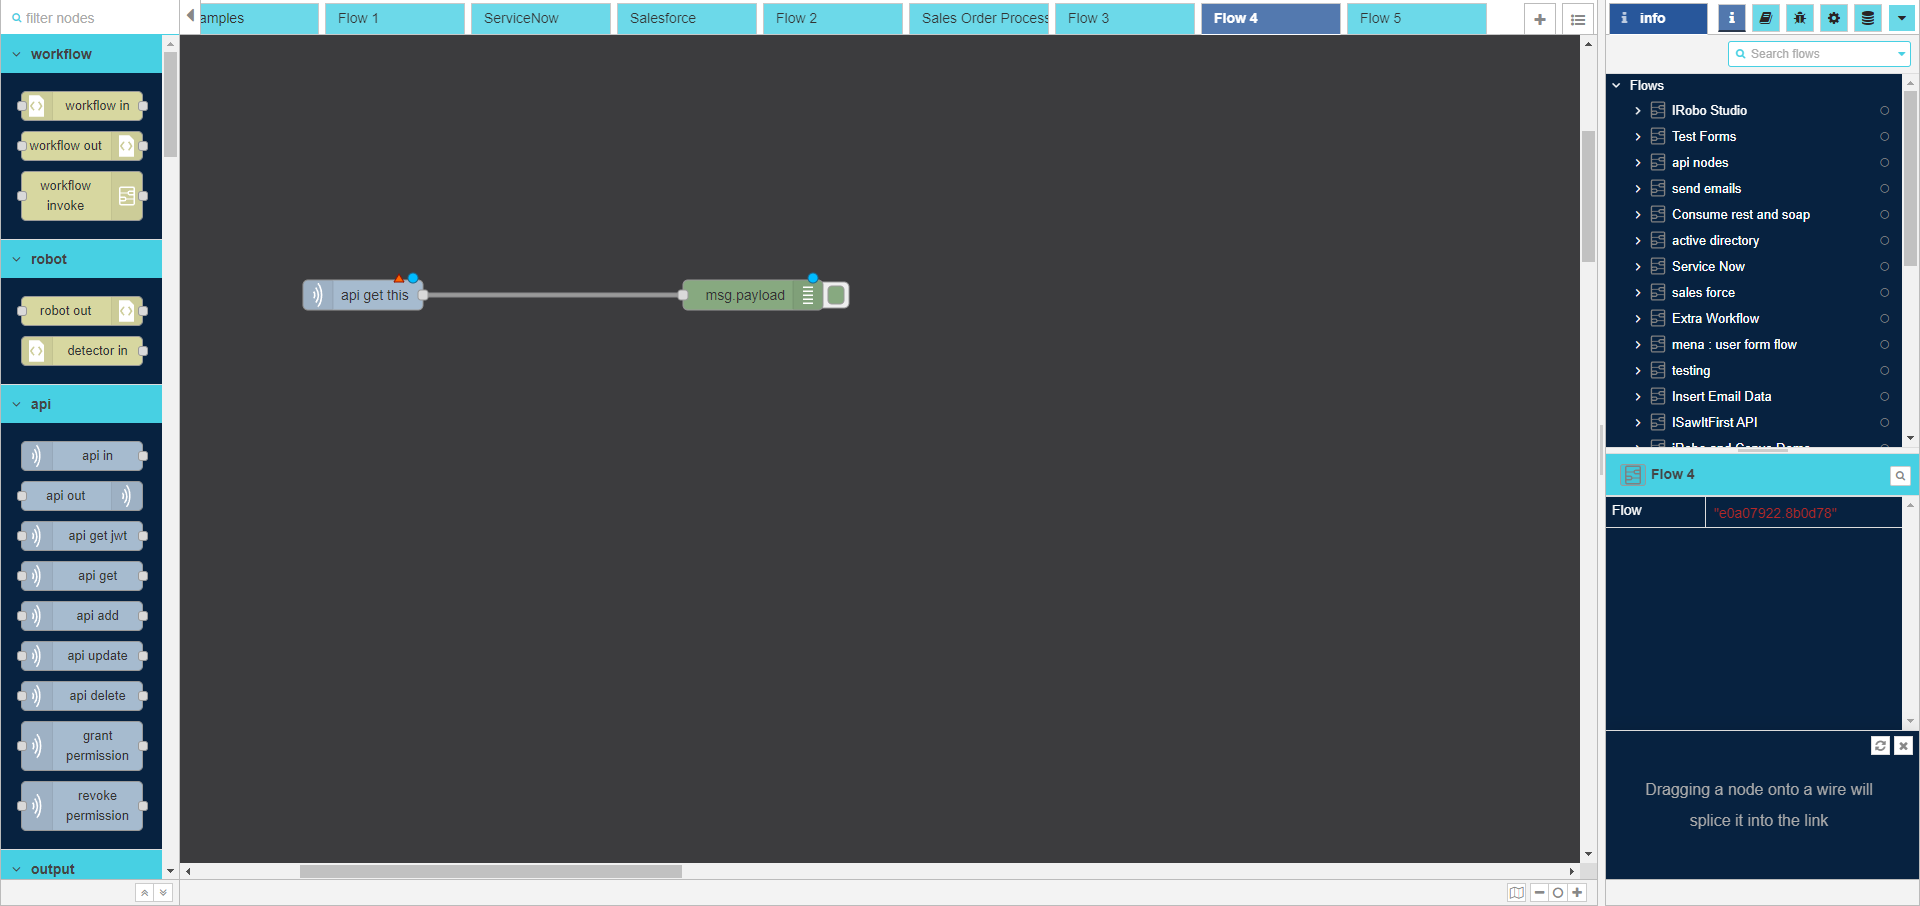
- Drag API in node to the Flow.
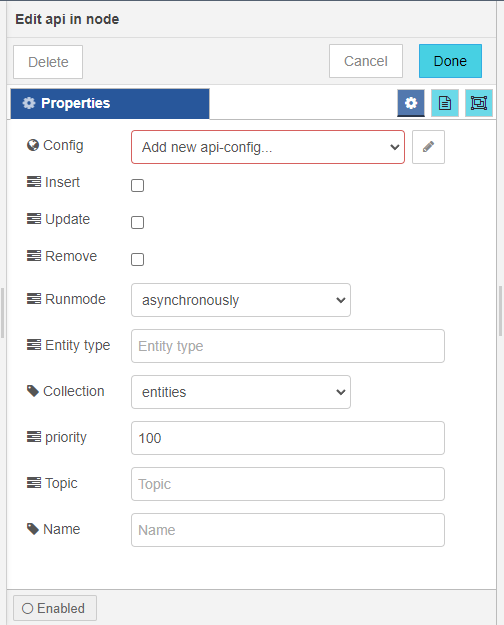
- Double click on API in node to modify its properties as shown in the image below.

- Set api in node properties from Edit api in node screen.
3.1. Config: select api in node configurations.
3.2. Insert: if checked; allows node to insert data into selected Collection with specified Type.
3.3. Update: if checked; allows node to update data in selected Collection with specified Type.
3.4. Remove: if checked; allows node to remove data from selected Collection with specified Type.
3.5. Runmode: select asynchronously, synchronously.
Asynchronously: each time the user adds entity/ asset of the same collection type; its data appears in the Debug Panel to track. Synchronously: allows node to do an action on adding a new entity/ asset of the same collection type.
3.7. Entity Type: enter entity/ asset defined type in Database.
3.8. Collection: select entity/ asset collection in Database.
3.9. Priority: enter no. or items to get from Database; for example: 100. It gets first 100 item in the Collection.
3.10. Click Done button: save changes to the system.
- Drag Debug node to the Flow.
- Connect api in node to Debug node with node connectors.
- Click on
 button: to deploy the created Flow.
 - msg.payload of Debug node is displayed in Debug Panel each time the user adds asset/ entity in iRoboControlPanel, click on message in Debug Panel to expand to view message details as shown in the image below. Data is displayed in payload Object with array of data; listing asset properties; such as name, id, type, etc...
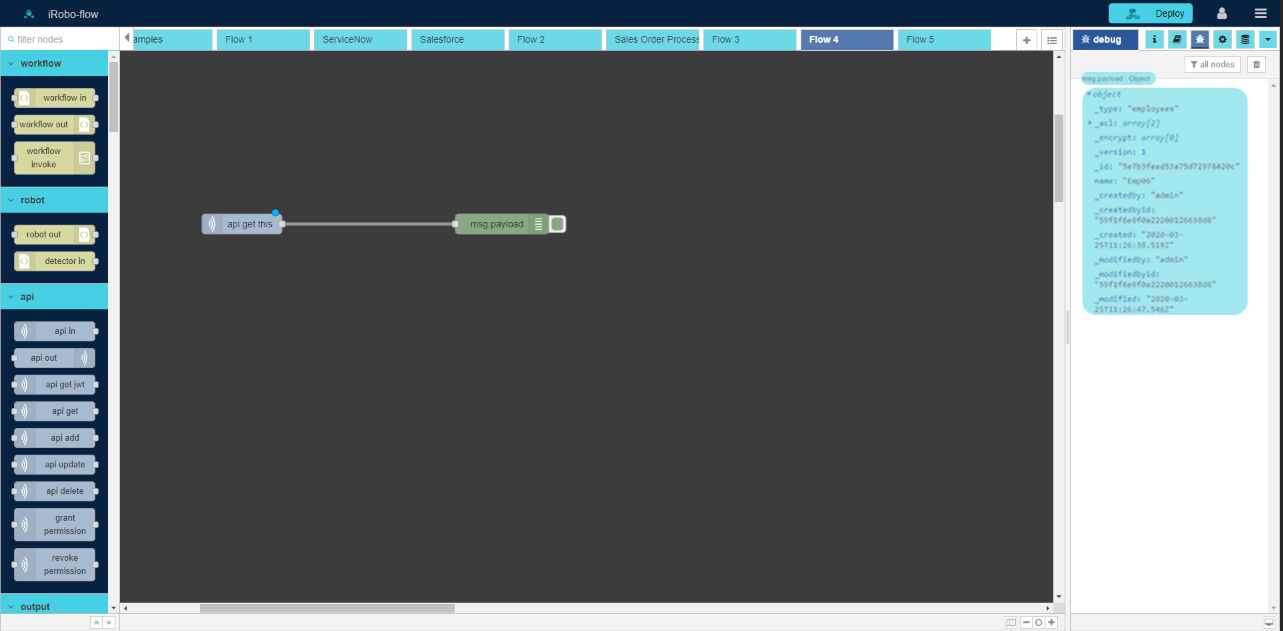
- Each time the user adds asset of the same type in iRoboControlPanel as shown in the image below, api in node listens in iRoboFlow.
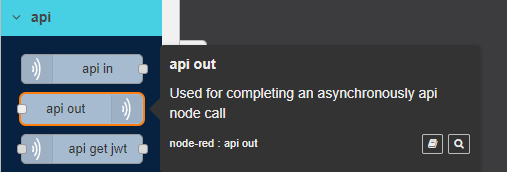
API out Node is used to complete asynchronously calling of api in node.
To Edit api out node follow these steps:
- Double click on api out node
- Edit api out node Panel is opened to the right as shown in the image below.
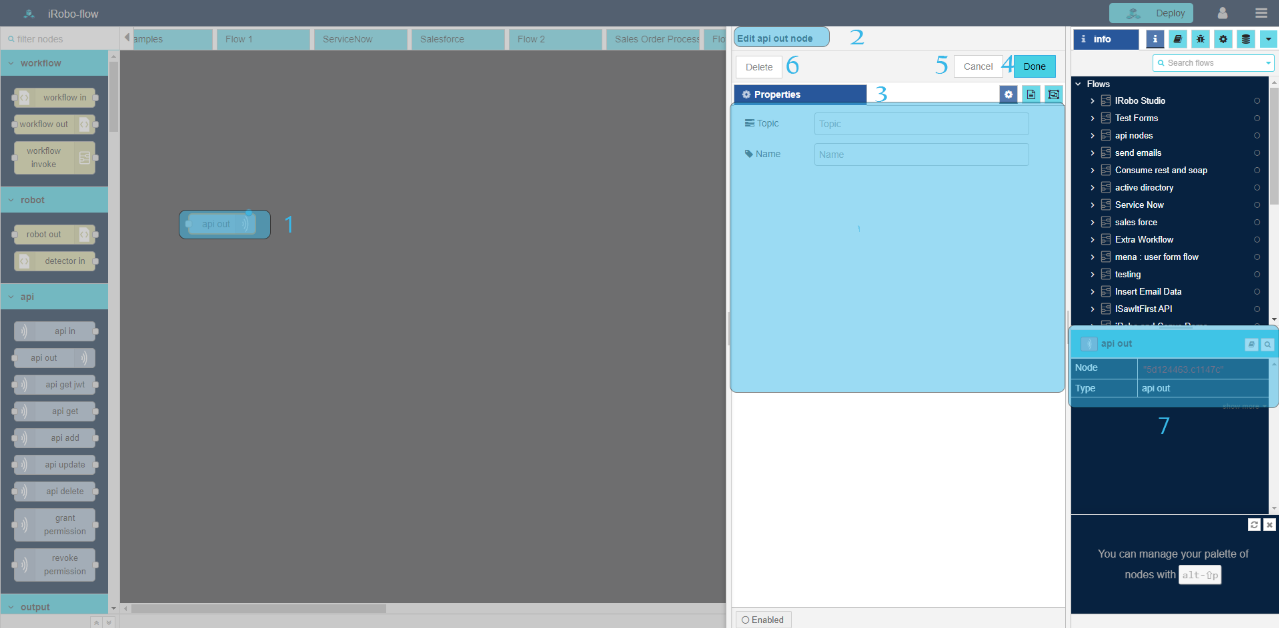
- Modify any of the node properties.
3.1. Topic:
3.2. Name: enter node name.
- Click Done button: save changes to the system.
- Click Cancel button: cancel operation and close screen.
- Click Delete button: deletes node from the Flow.
- Information Panel: display node information; such as node id, name and type.
|
API in and API out nodes create triggers on Database DB; as every-time something changes the user can react on it. |
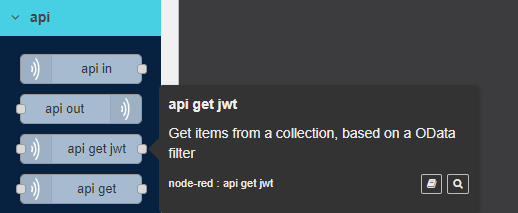
API get Jwt Node is used to get Token and send it to next node; to authorize the node commit the api node.
To Edit api get jwt node follow these steps:
- Double click on api get jwt node
- Edit api get jwt node Panel is opened to the right as shown in the image below.
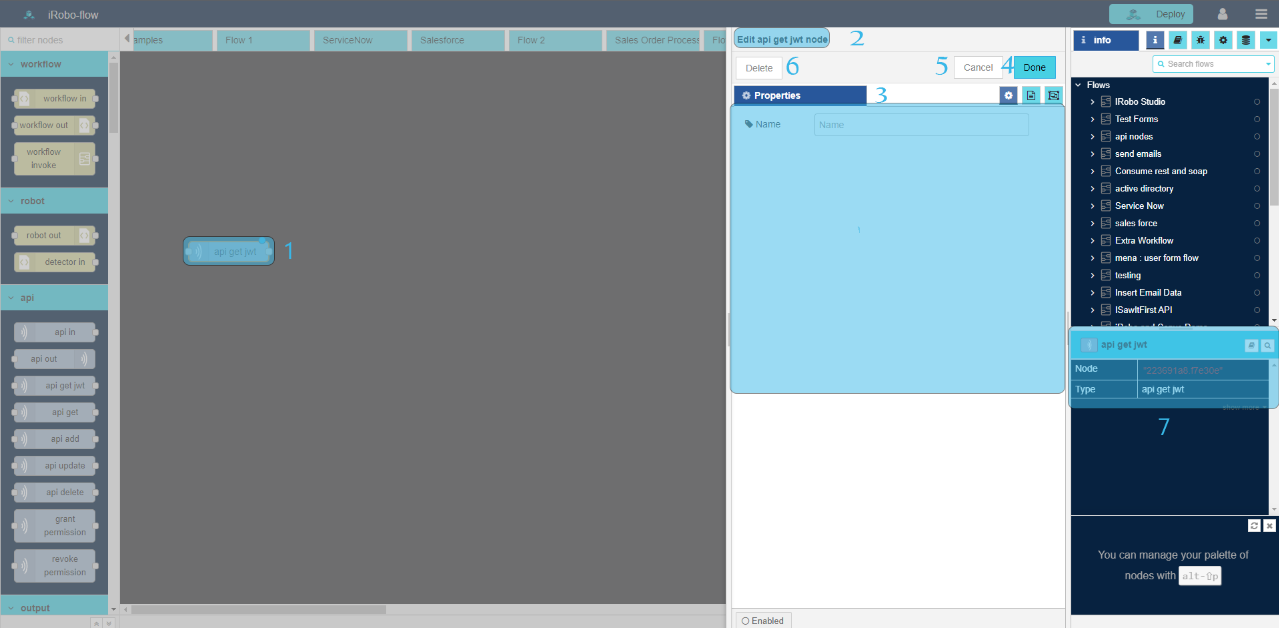
- Modify any of the node properties.
3.1. Name: enter node name.
- Click Done button: save changes to the system.
- Click Cancel button: cancel operation and close screen.
- Click Delete button: deletes node from the Flow.
- Information Panel: display node information; such as node id, name and type.
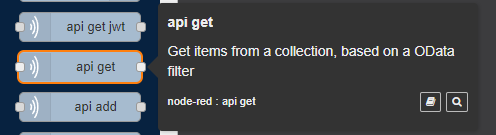
API get Node is used to get item from a collection in Database based on MongoDB Query.
To Edit api get node follow these steps:
- Double click on api get node
- Edit api get node Panel is opened to the right as shown in the image below.

- Modify any of the node properties.
3.1. Name: enter node name.
3.2. Projection: determines which fields are returned in Collection; write it in this format: field1: <value>, field2: <value>
3.3. Collection: select entity/ asset collection in Database.
3.4. Result To: enter object name to save output; example: msg.payload.
3.5. Descending: if checked, display data in descending order.
- Click Done button: save changes to the system.
- Click Cancel button: cancel operation and close screen.
- Click Delete button: deletes node from the Flow.
- Information Panel: display node information; such as node id, name and type.
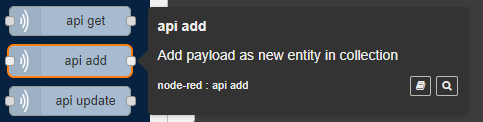
API add Node is used to add an item of specific type and collection of entities/ assets in Database DB.
To Edit api add node follow these steps:
- Double click on api add node.
- Edit api add node Panel is opened to the right as shown in the image below.
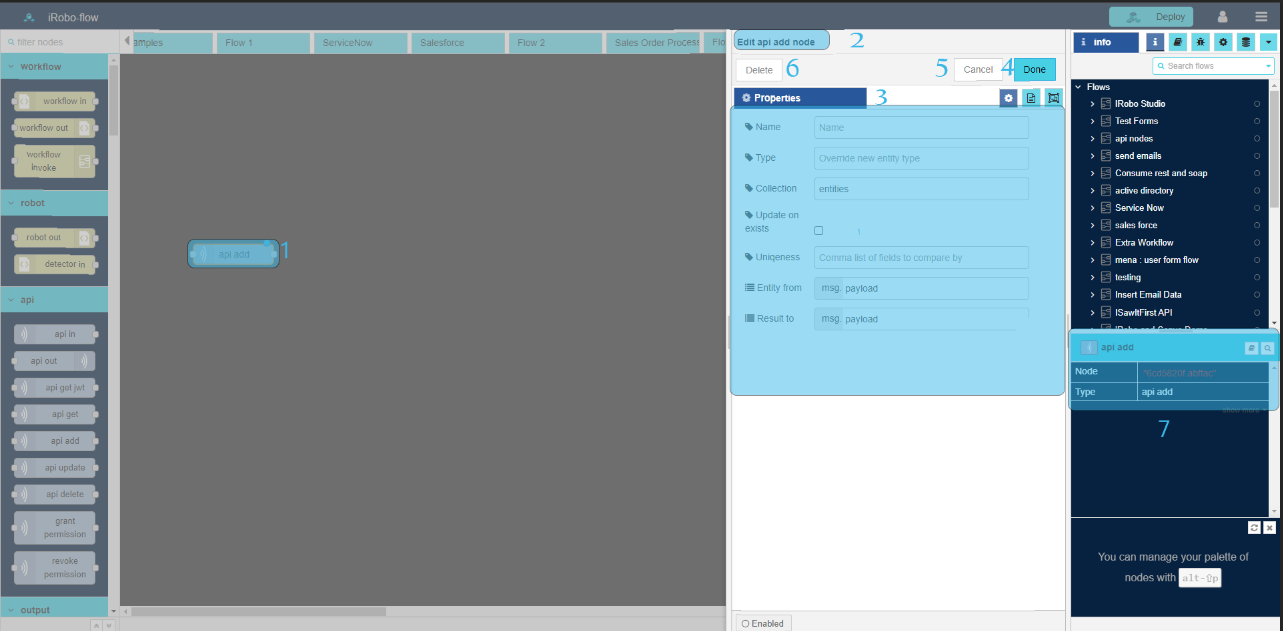
- Modify any of the node properties.
3.1. Name: enter node name.
3.2. Type: enter entity/ asset defined type in Database.
3.3. Collection: select entity/ asset collection in Database.
3.4. Update on exists: if checked; update entity/ asset if exists.
3.5. Result To: enter object name to save output; example: msg.payload.
- Click Done button: save changes to the system.
- Click Cancel button: cancel operation and close screen.
- Click Delete button: deletes node from the Flow.
- Information Panel: display node information; such as node id, name and type.
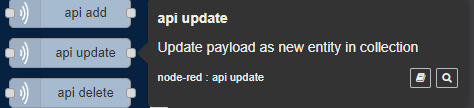
API update Node is used to update an item of specific type and collection of entities/ assets in Database DB.
To Edit api update node follow these steps:
- Double click on api update node
- Edit api update node Panel is opened to the right as shown in the image below.
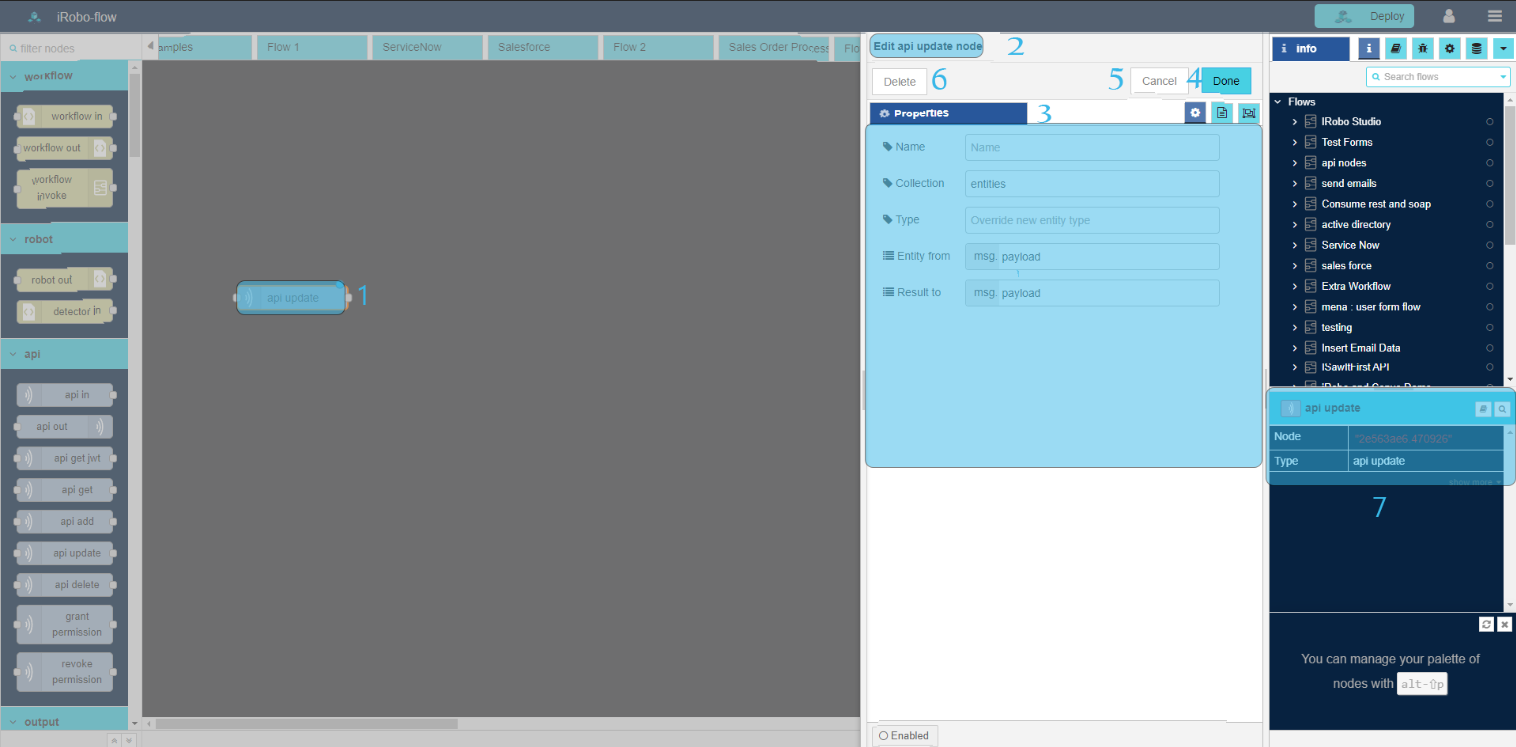
- Modify any of the node properties.
3.1. Name: enter node name.
3.2. Collection : select entity/ asset collection in Database.
3.3. Type: enter entity/ asset defined type in Database.
3.4. Entity from:
3.5. Result To: enter object name to save output; example: msg.payload.
- Click Done button: save changes to the system.
- Click Cancel button: cancel operation and close screen.
- Click Delete button: deletes node from the Flow.
- Information Panel: display node information; such as node id, name and type.
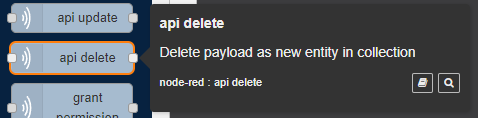
API delete Node is used to delete a collection of entities/ assets from Database DB.
To Edit api delete node follow these steps:
- Double click on api delete node
- Edit api delete Panel is opened to the right as shown in the image below.
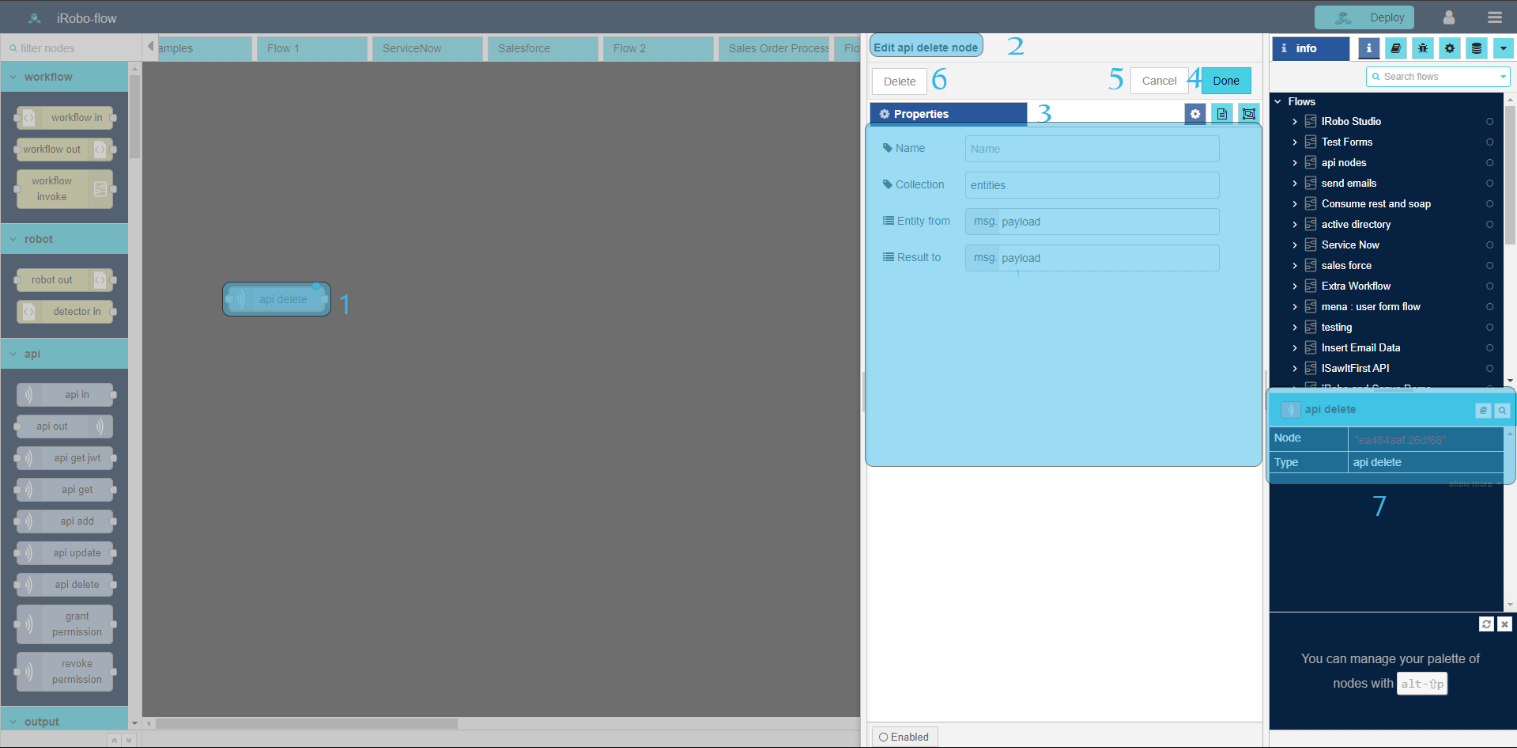
- Modify any of the node properties.
3.1. Name: enter node name.
3.2. Collection : select entity/ asset collection in Database.
3.3. Entity from:
3.4. Result To: enter object name to save output; example: msg.payload.
- Click Done button: save changes to the system.
- Click Cancel button: cancel operation and close screen.
- Click Delete button: deletes node from the Flow.
- Information Panel: display node information; such as node id, name and type.
API grant permission Node is used to grant permission (Update, Delete, Insert) on item of a collection of entities/ assets in Database DB.

To Edit grant permission node follow these steps:
- Double click on grant permission node
- Edit grant permission node Panel is opened to the right as shown in the image below.
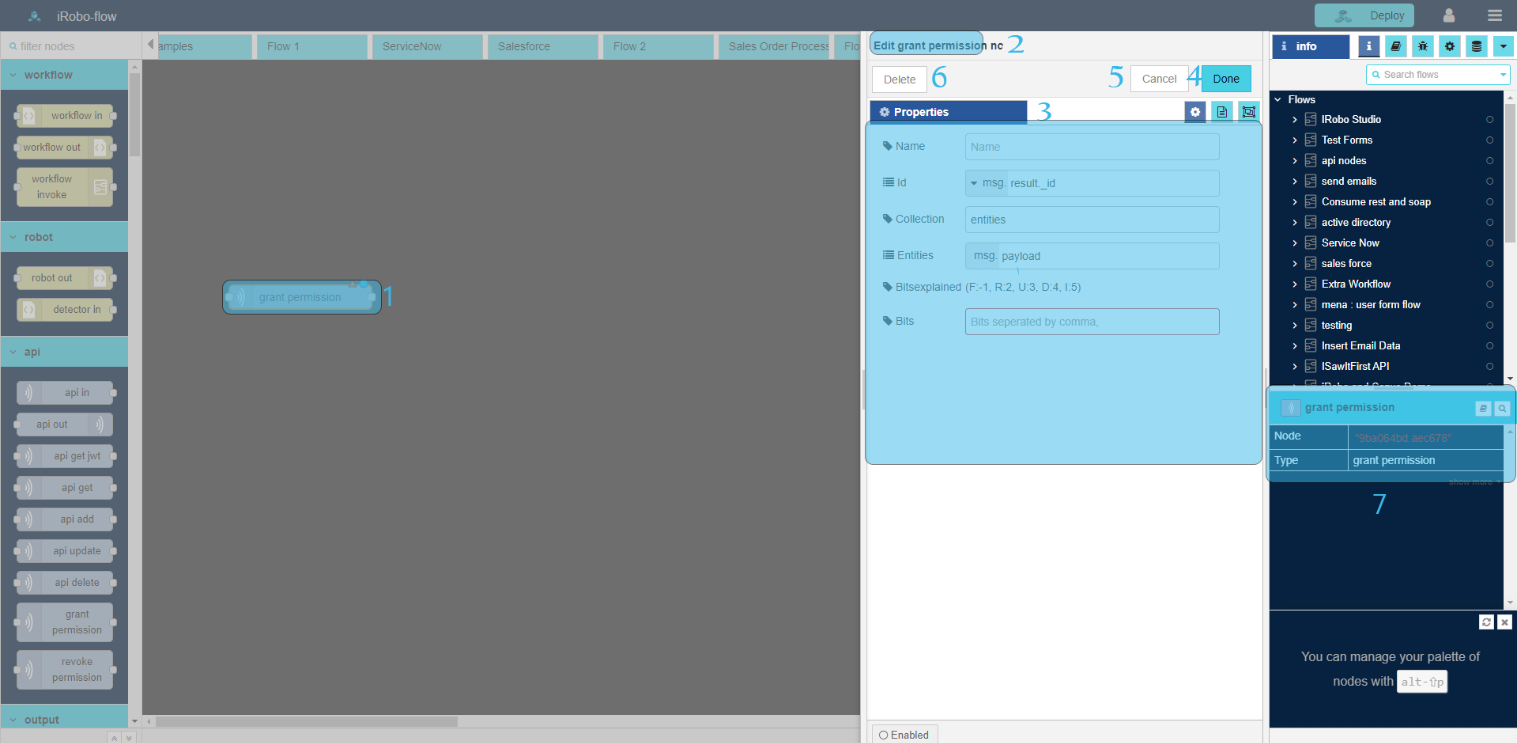
- Modify any of the node properties.
3.1. Name: enter node name.
3.2. id: enter entity/ asset id.
3.3. Collection : select entity/ asset collection in Database.
3.4. Entities: enter object to get entities; such as: payload.
3.6. Bitsexplained: use this numbers in Bits to refer to (3 Update, 4 Delete, 5 Insert).
3.7. Bits: use numbers Bitsexplained; (3 Update, 4 Delete, 5 Insert). Enter number to refer to permission on item.
- Click Done button: save changes to the system.
- Click Cancel button: cancel operation and close screen.
- Click Delete button: deletes node from the Flow.
- Information Panel: display node information; such as node id, name and type.
Example on grant permission Node
This example shows how grant permission node to grant permission on asset.
Follow these steps to apply the above example:
- Drag API in node to the Flow.
- Double click on API in node to modify its properties as shown in the image below.
- Set api in properties in Edit Api in node screen.
|
For more information on properties; go to API details. |
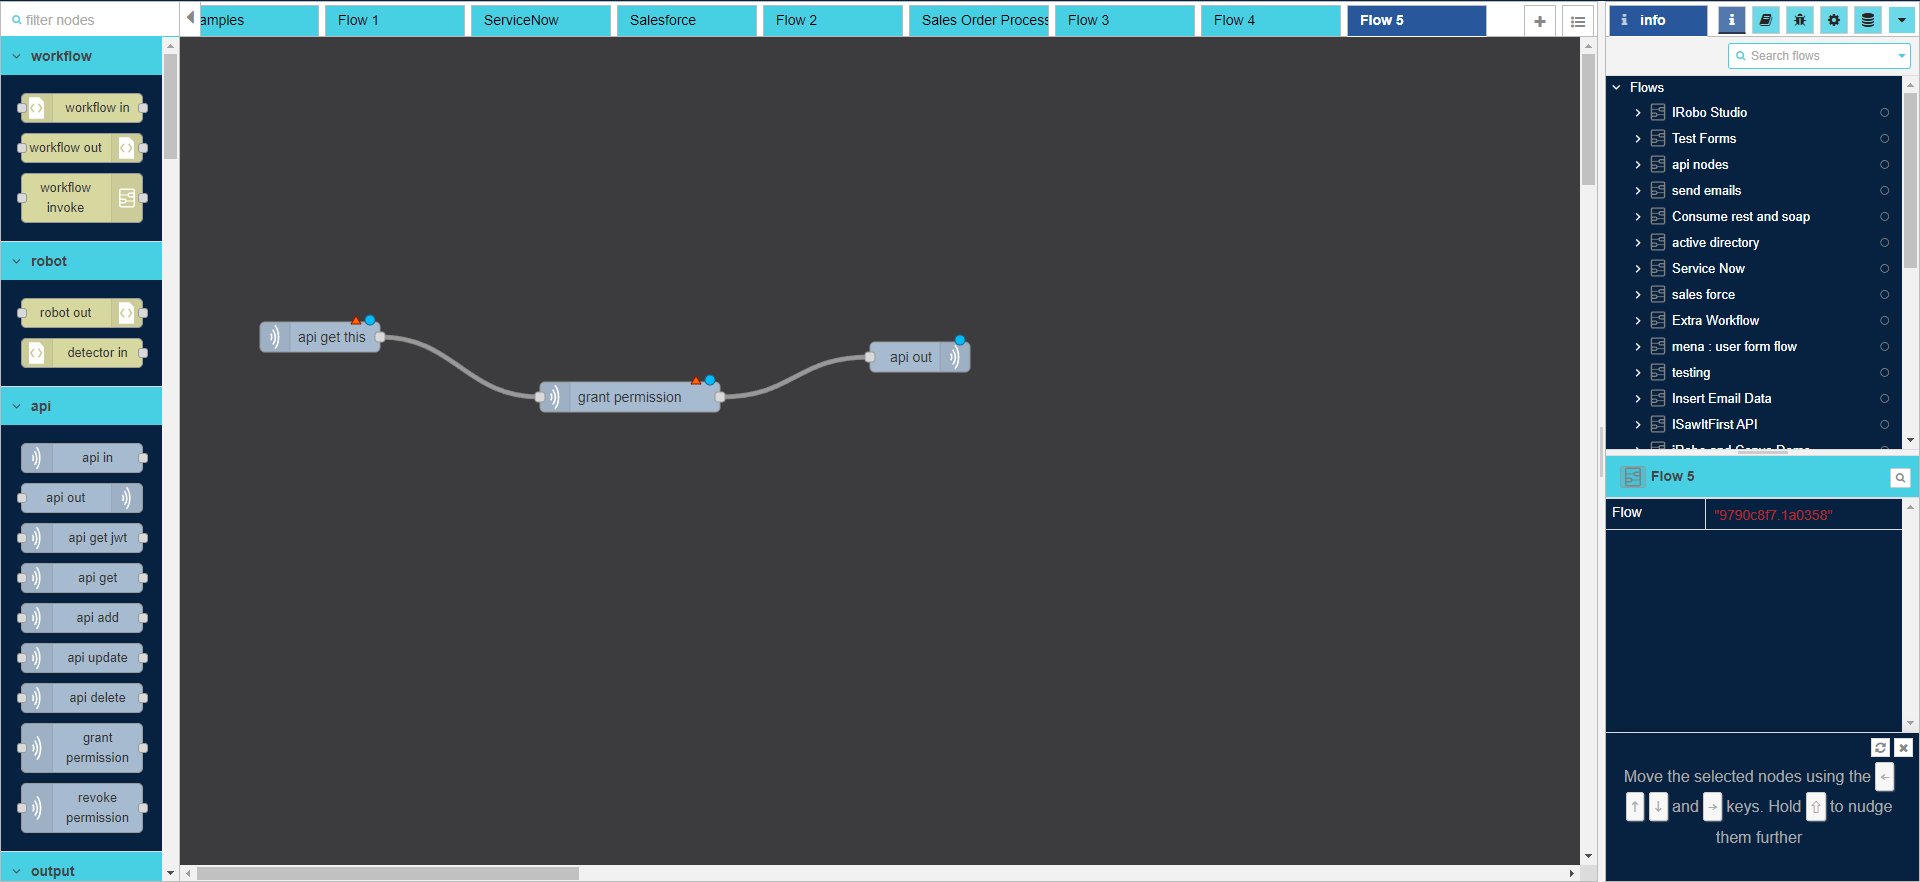
- Drag grant permission node to the Flow.
- Connect Api in node to grant permission node with node connectors.
- Double click on grant permission node to modify its properties as shown in the image below.
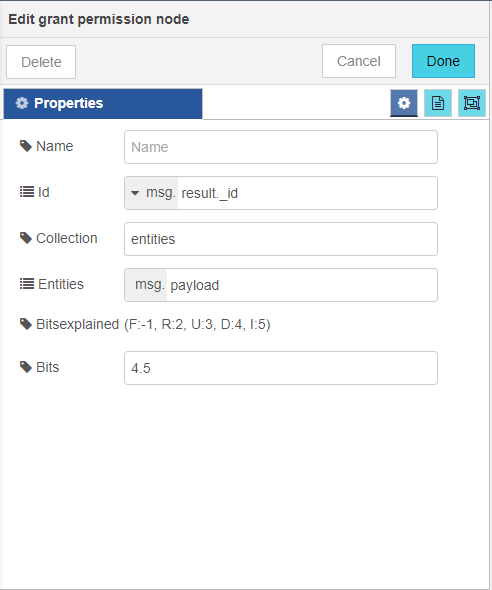
- Set grant permission node properties in Edit grant permission node node screen, grant Delete and Insert permission on collection.
- Drag api out node to the Flow; complete the calling of api in node.
- Connect grant permission node to api out node with node connectors.
- Click on button: to deploy the created Flow.
API revoke permission Node is used to revoke permission (Update, Delete, Insert) on item of a collection of entities/ assets in Database DB.
To Edit revoke permission node follow these steps:
- Double click on revoke permission node
- Edit revoke permission node Panel is opened to the right as shown in the image below.

- Modify any of the node properties.
3.1. Name: enter node name.
3.2. id: enter entity/ asset id.
3.3. Collection: select entity/ asset collection in Database.
3.4. Bitsexplained: use this numbers in Bits to refer to (3 Update, 4 Delete, 5 Insert).
3.5. Bits: use numbers Bitsexplained; (3 Update, 4 Delete, 5 Insert). Enter number to refer to permission on item.
- Click Done button: save changes to the system.
- Click Cancel button: cancel operation and close screen.
- Click Delete button: deletes node from the Flow.
- Information Panel: display node information; such as node id, name and type.
Created with the Personal Edition of HelpNDoc: Easily create Help documents