SalesForce.Nodes
iRoboFlow custom SalesForce Nodes are used to create a workflow that do some actions related to SalesForce.
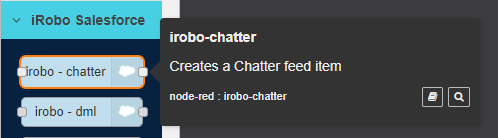
Chatter Node is used to add a post on SalesForce Chatter.
To Edit chatter node follow these steps:
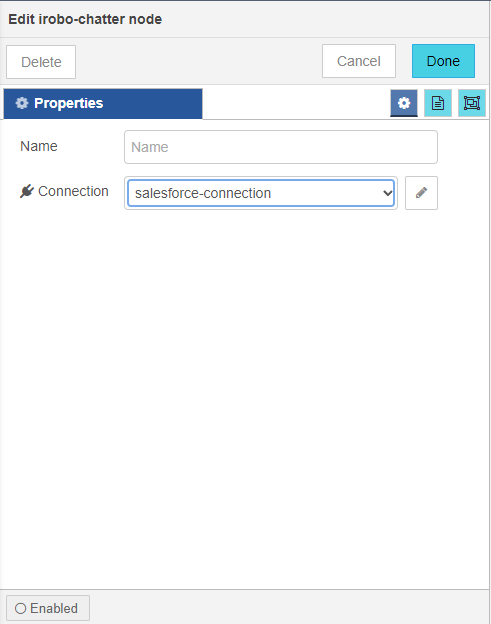
- Double click on chatter node
- Edit chatter node Panel is opened to the right as shown in the image below.

- Modify any of the node properties.
3.1. Name: enter node name.
3.2. Connection: select the connection you've configured in Salesforce.
|
For more information on Connection, go to SalesForce Integration page. |
- Click Done button: save changes to the system.
- Click Cancel button: cancel operation and close screen.
- Click Delete button: deletes node from the Flow.
 Information Panel: display node information; such as node id, name and type.
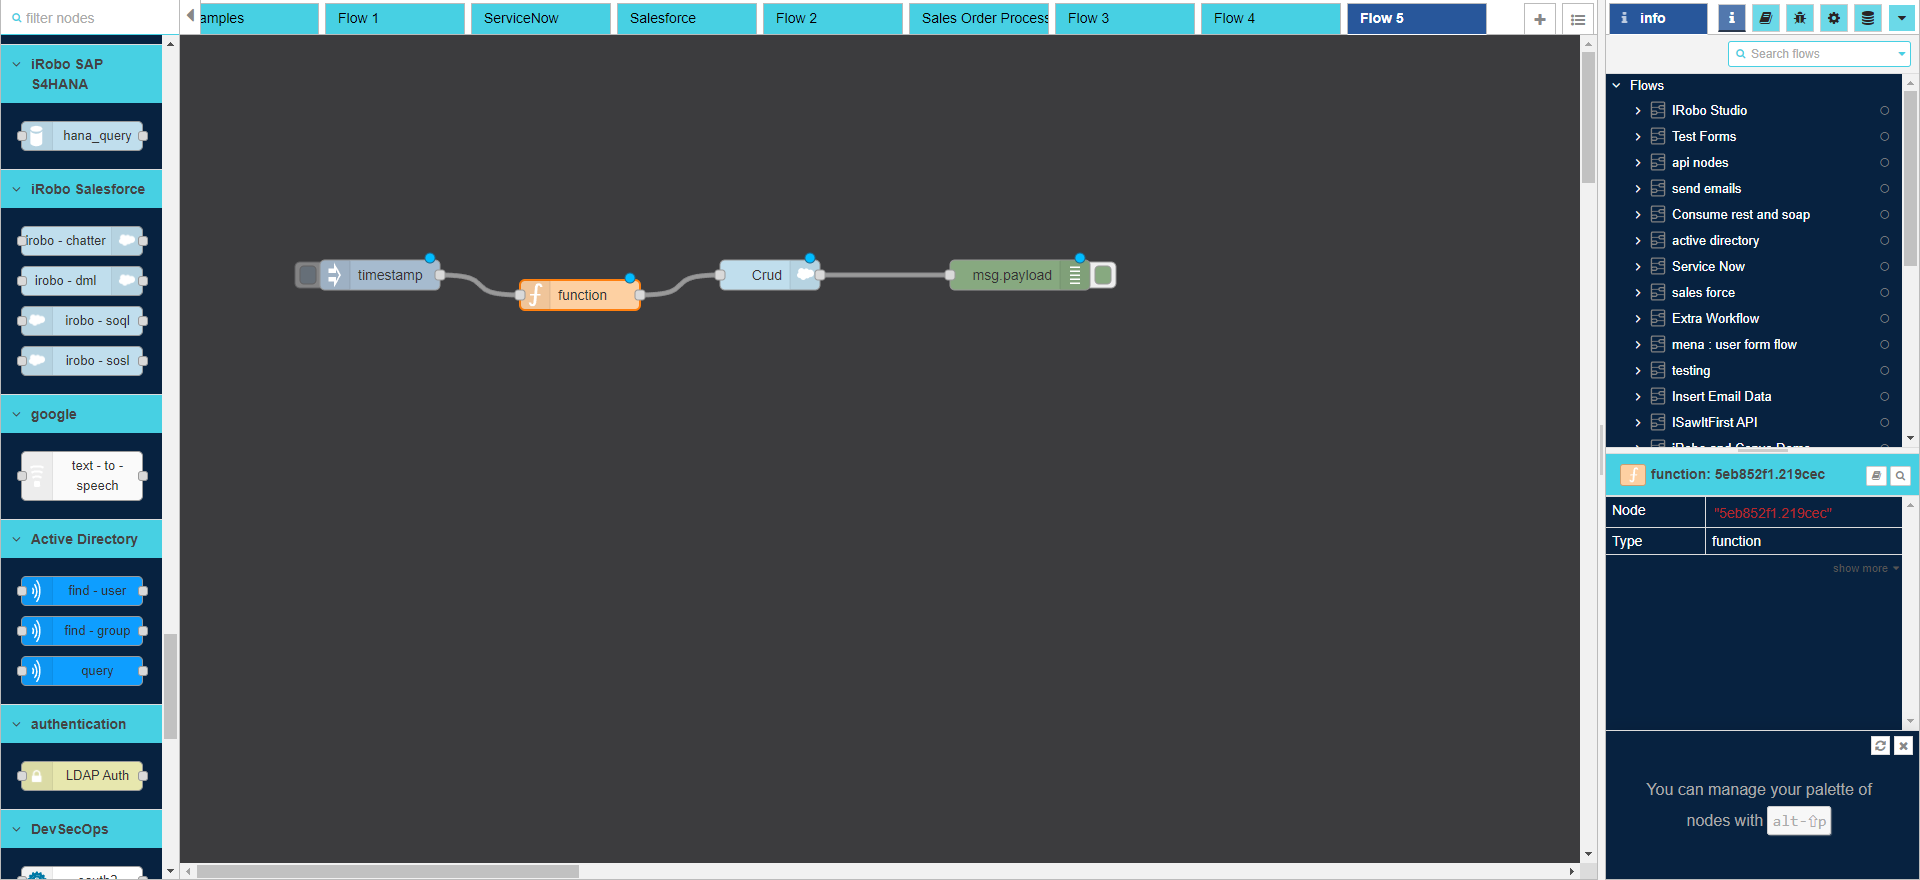
Let's create an Example to add a post on SalesForce Chatter. Here is a flow that shows you how to do that.
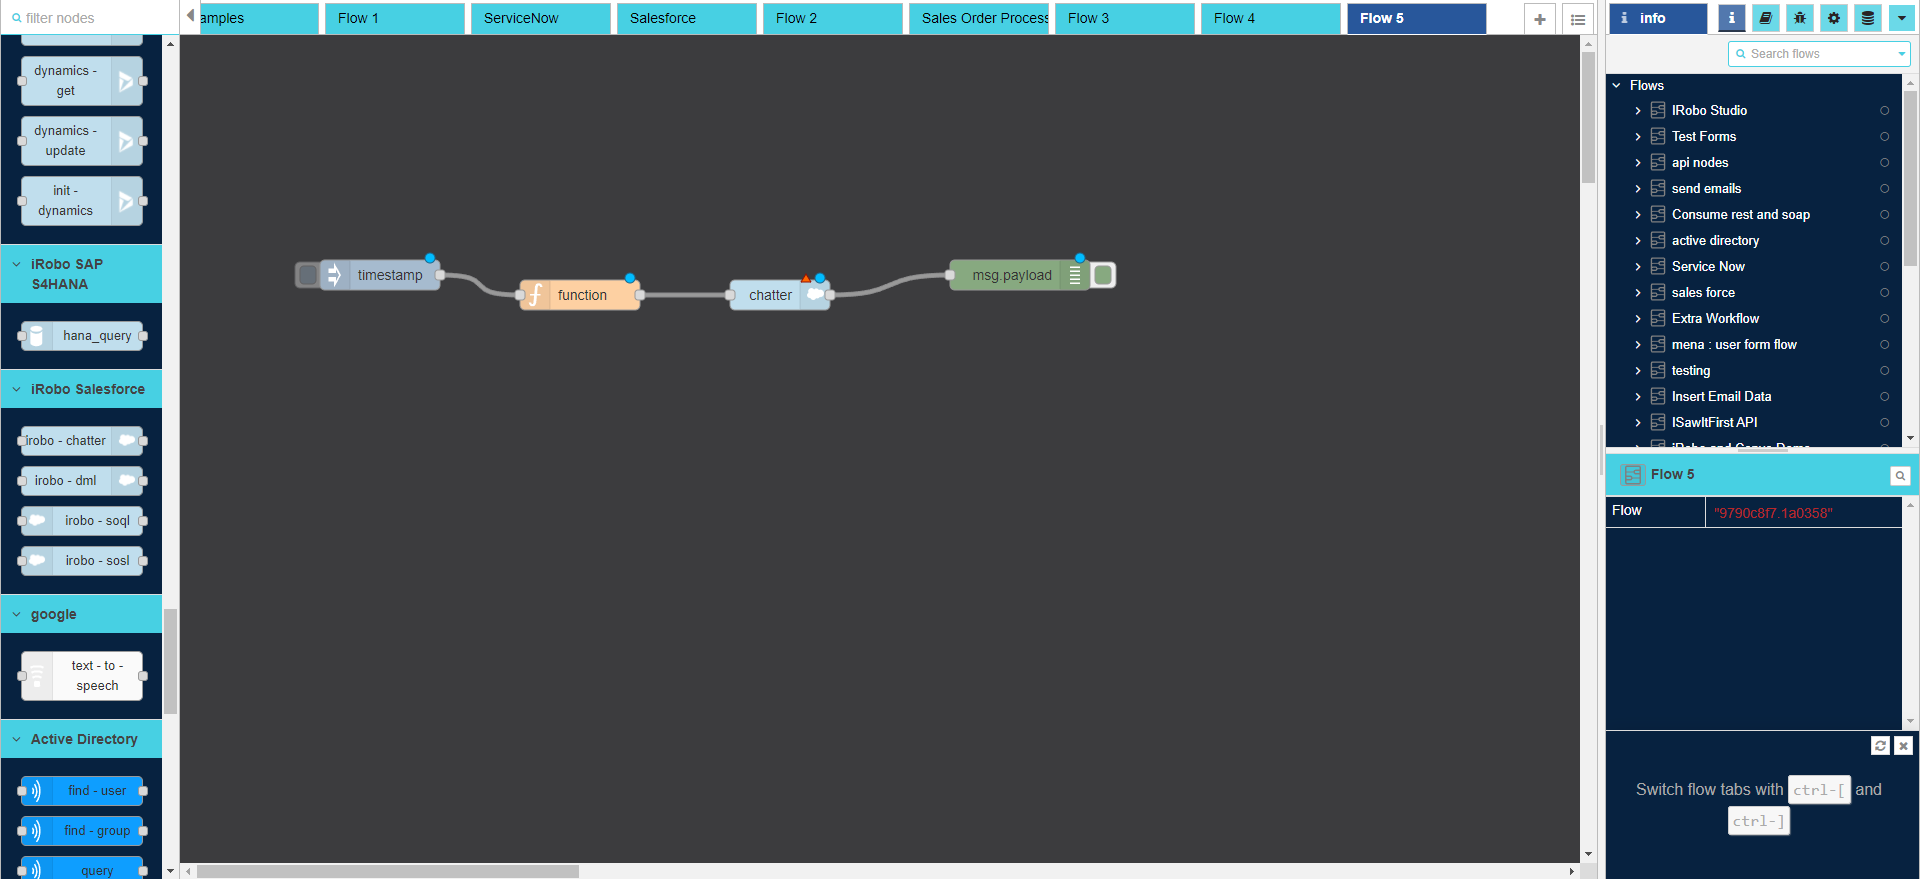
- Drag Inject node to the workspace.
- Drag Function node to the workspace. Then, drag a line from Inject node to Function node to connect them together.
2.1. Double click on the node to open its Properties as shown in the image below.
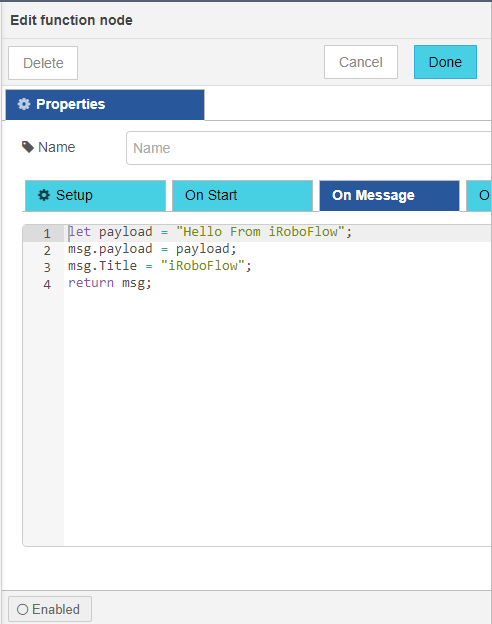
2.2. Write the syntax: msg body and title that appear in Chatter.
2.3. Click Done button: save node properties.
- Drag chatter node to the workspace. Then, drag a line from Function node to chatter node to connect them together.
31. Name: enter node name.
3.2. Connection: select the connection you created in SalesForce to connect with NodeRed App.
3.3. Click Done button: save node properties.
- Drag Deploy node to the workspace. Then, drag a line from Chatter node to Deploy node to connect them together.
- Click on Deploy button to deploy the workflow.
- As a result of this workflow, data is added to SalesForce Object.
dml Node is used to query SalesForce database.

To Edit dml node follow these steps:
- Double click on dml node
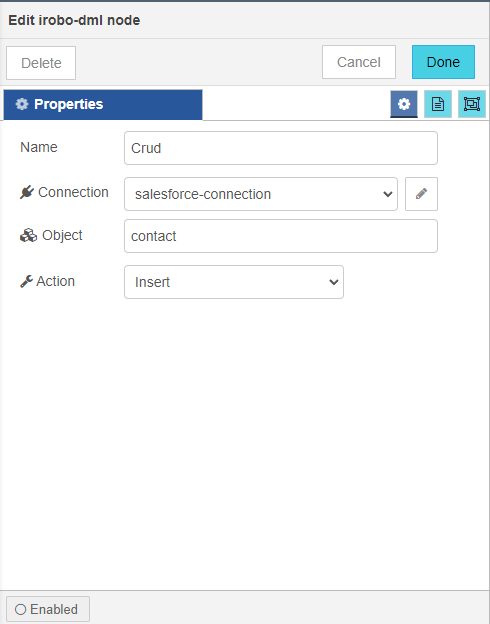
- Edit dml node Panel is opened to the right as shown in the image below.

- Modify any of the node properties.
3.1. Name: enter node name.
3.2. Connection: select the connection you've configured in Salesforce.
|
For more information on Connection, go to SalesForce Integration page. |
3.3. Object: select object from SaleForce; for example: Contacts.
3.4. Action: select action from drop-down list to apply on the entered Object; such as: Insert, Update, Upsert, Delete.
- Click Done button: save changes to the system.
- Click Cancel button: cancel operation and close screen.
- Click Delete button: deletes node from the Flow.
- Information Panel: display node information; such as node id, name and type.
Let's create an Example to insert data in SaleForce database. Here is a flow that shows you how to do that.
- Drag Inject node to the workspace.
- Drag Function node to the workspace. Then, drag a line from Inject node to Function node to connect them together.
2.1. Double click on the node to open its Properties as shown in the image below.
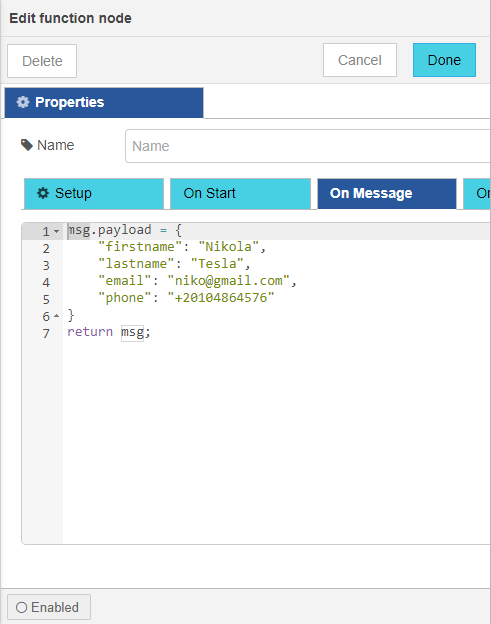
2.2. Write the syntax: enter record's data to insert between {}.
2.3. Click Done button: save node properties.
- Drag dml node to the workspace. Then, drag a line from Function node to dml node to connect them together.
31. Name: enter node name.
3.2. Connection: select the connection you created in SalesForce to connect with NodeRed App.
3.3. Object: enter SalesForce Object, where its data is updated.
3.4. Action: select action from drop-down list to have its impact on SalesForce Object, Insert, Update, Upsert or Delete.
3.5. Click Done button: save node properties.
- Drag Deploy node to the workspace. Then, drag a line from dml node to Deploy node to connect them together.
- Click on Deploy button to deploy the workflow.
- As a result of this workflow, data is added to SalesForce Object.
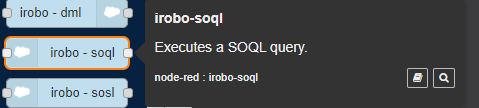
SOQL Node is used to query SalesForce database.
To Edit SOQL node follow these steps:
- Double click on SOQL node
- Edit SOQL node Panel is opened to the right as shown in the image below.
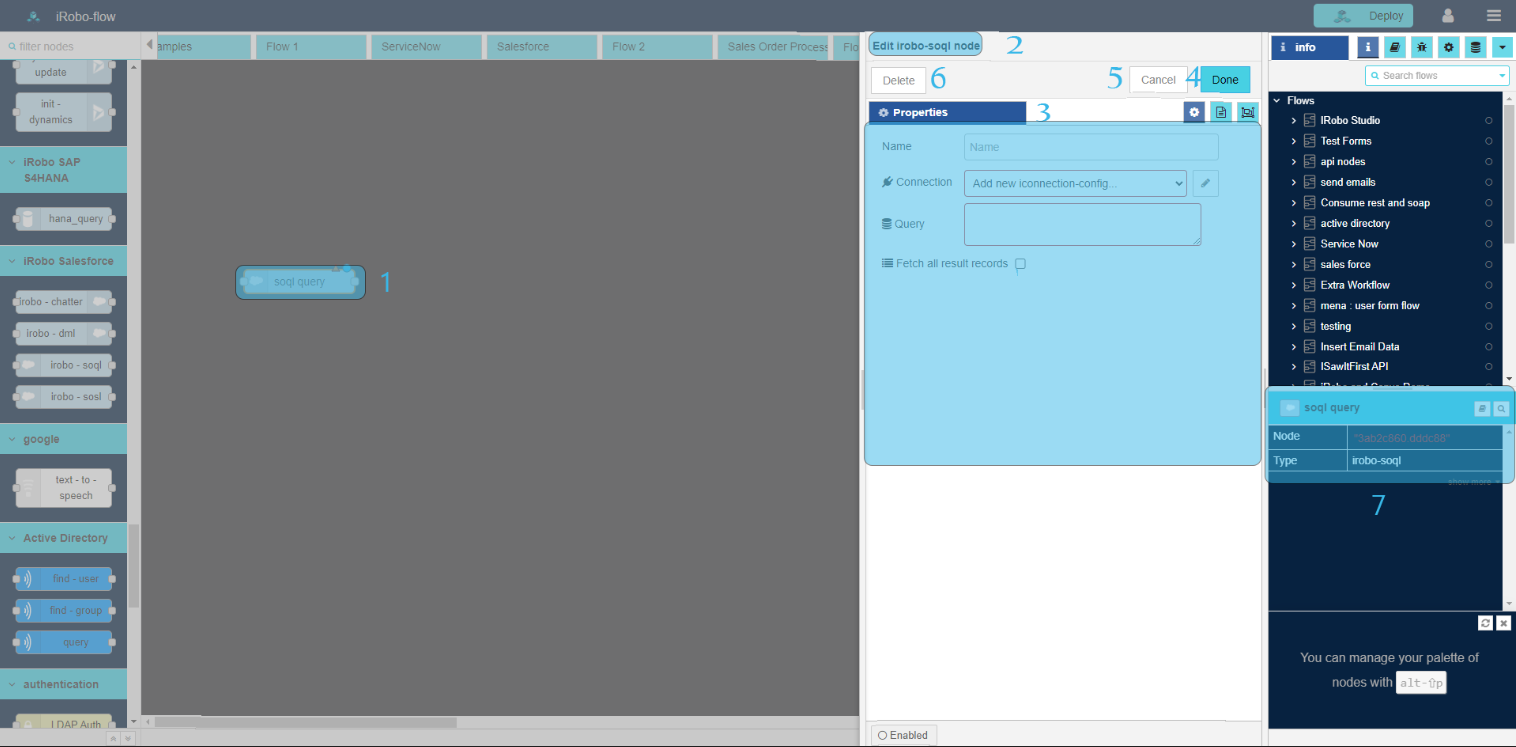
- Modify any of the node properties.
3.1. Name: enter node name.
3.2. Connection: select the connection you've configured in Salesforce.
|
For more information on Connection, go to SalesForce Integration page. |
3.3. Query: write SalesForce Query to select data from its contacts.
3.4. Fetch all result records checkbox: get all records result that matches the Query.
- Click Done button: save changes to the system.
- Click Cancel button: cancel operation and close screen.
- Click Delete button: deletes node from the Flow.
- Information Panel: display node information; such as node id, name and type.
Let's create an Example on how to query data from SaleForce. Here is a flow that shows you how to do that.
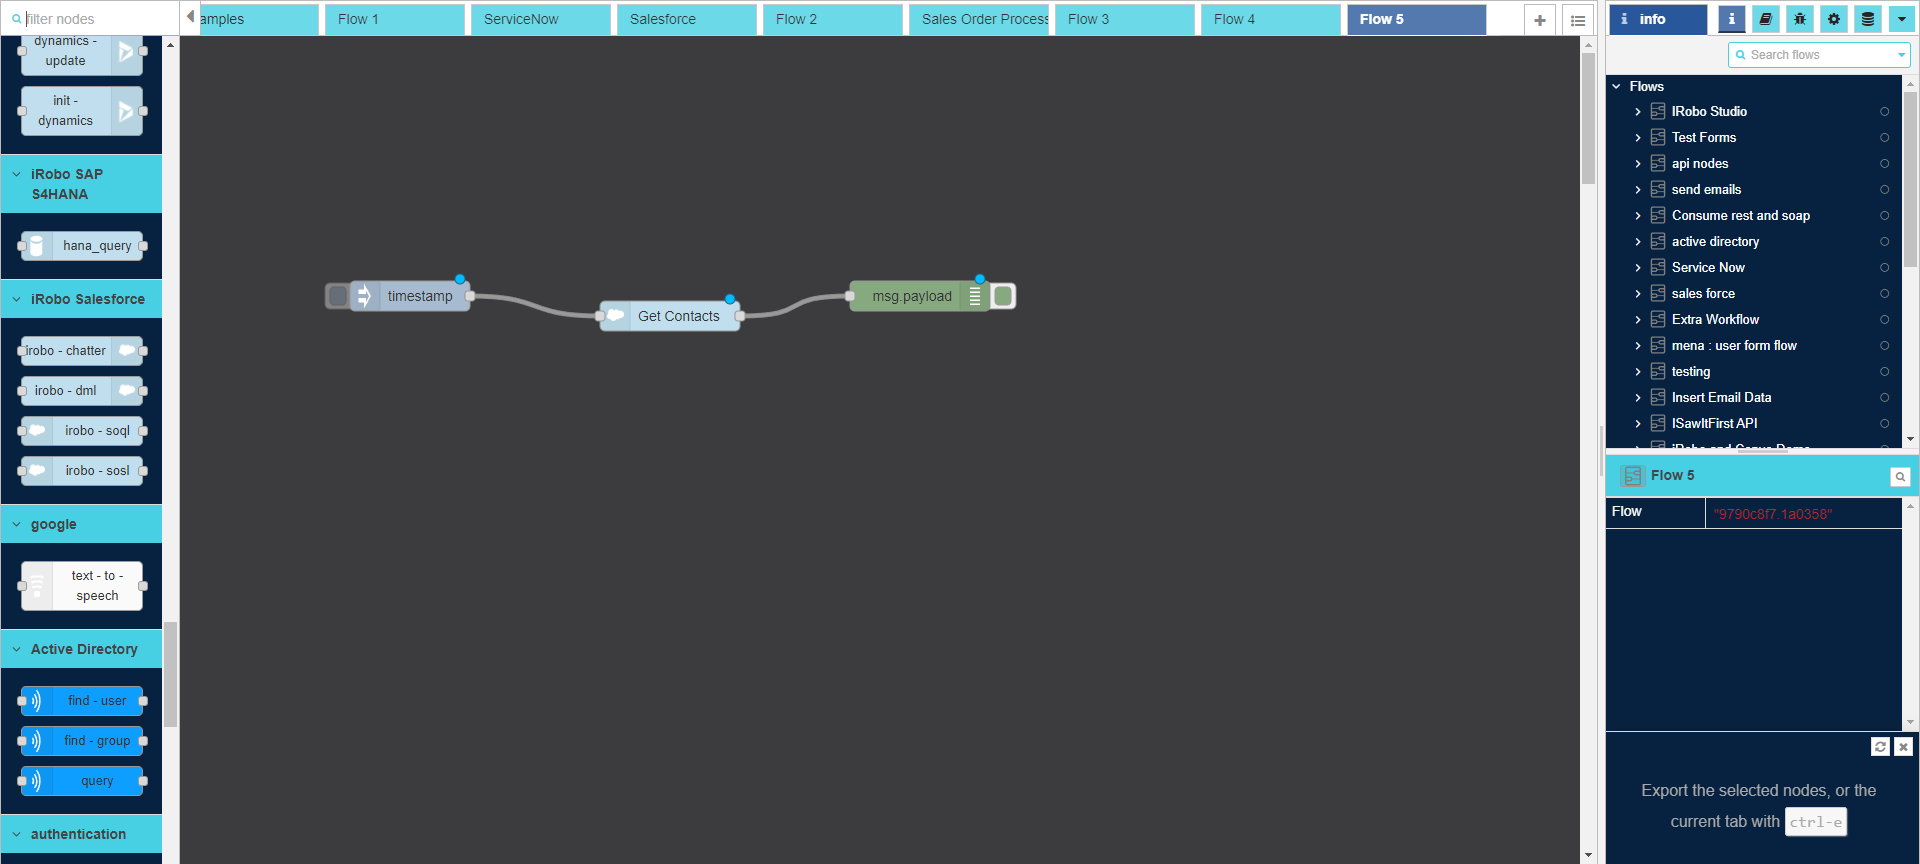
- Drag Inject node to the workspace.
- Drag SOQL node to the workspace. Then, drag a line from Inject node to SOQL node to connect them together.
2.1. Double click on the node to open its Properties as shown in the image below.
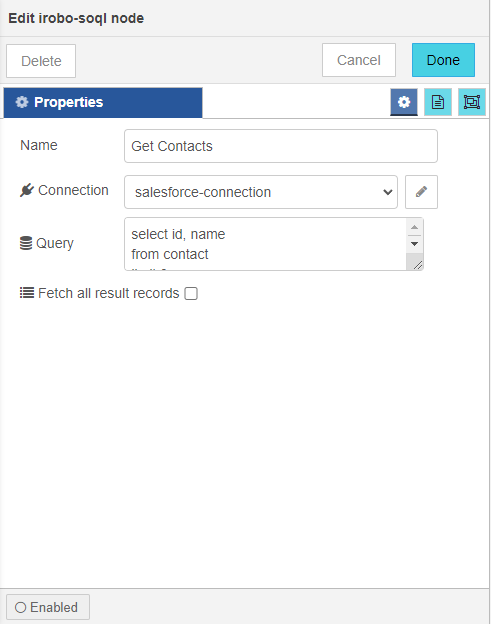
2.2. Name: enter node name.
2.3. Connection: select the connection you created in SalesForce to connect with NodeRed App.
2.4. Query: enter SalesForce Query to select data from SalesForce Database. In this Query, "limit" means number of records returned equals to the number entered.
2.5. Fetch all result records checkbox: get all records result that matches the Query.
2.6. Click Done button: save node properties.
- Drag Deploy node to the workspace. Then, drag a line from SOQL node to Deploy node to connect them together.
- Click on Deploy button to deploy the workflow.
- As we are using Debug node in the workflow, the output of the resulted records appears in the Debug Panel.
Created with the Personal Edition of HelpNDoc: Full-featured Documentation generator