iRobo.Studio.Installation
iRobo Studio enables business users with no coding skills to automate their tasks.
Studio is explained in a detailed manner from interface to the building of automation process in various environments.
To install iRobo Studio, click on iRobo Studio installer and follow these steps:
- iRobo Studio welcome screen appears as shown in the image below.
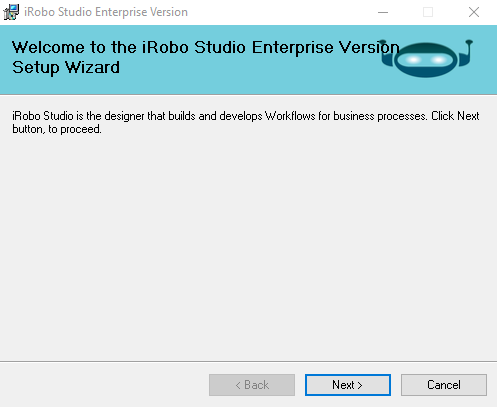
iRobo Studio Installer Screen
- The installation Path screen appears to allow you to select the iRobo Studio installation path on your machine, as shown in the image below.
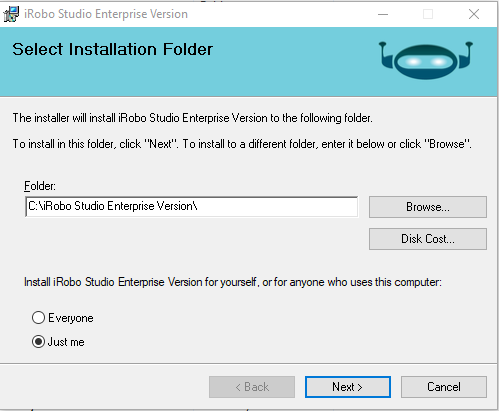
iRobo Studio Installer Screen
- Enter Control Panel URL & Tenant Name sent to you in License email.
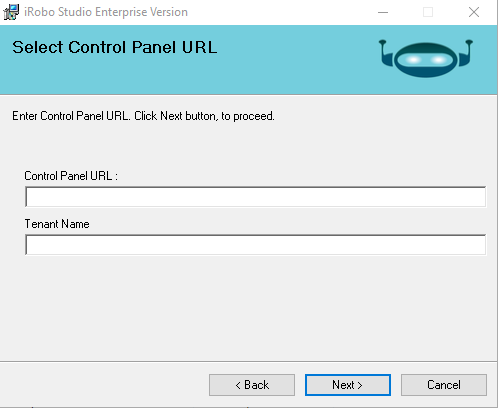
iRobo Studio Installer Screen
- Click Next button to confirm the installation process.
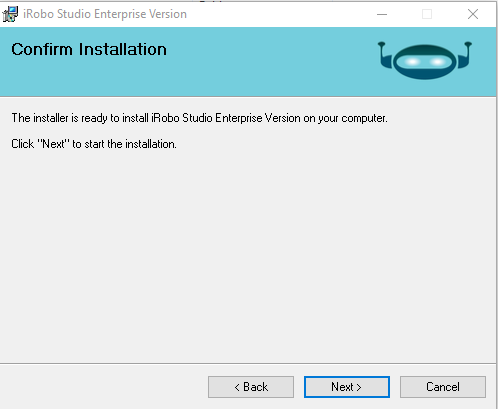
iRobo Studio Installer Screen
- iRobo Studio installation is in progress.
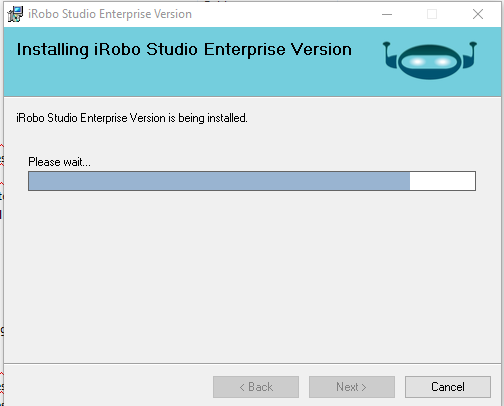
iRobo Studio Installer Screen
- iRobo Studio installation is successfully completed. Click Close button to exit.
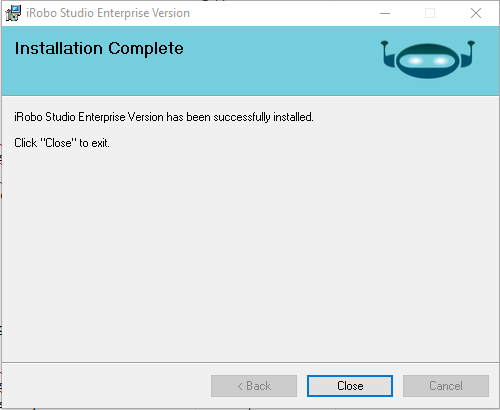
iRobo Studio Installer Screen
Configuring iRobo Studio Enterprise
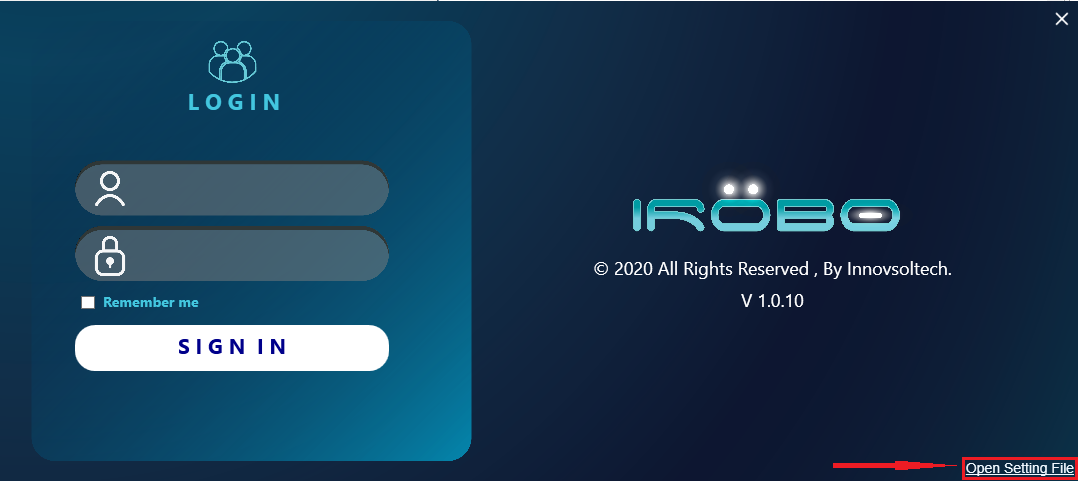
- Open iRobo Studio application.
- Click on Open Setting File as shown in the image below.
- Settings File is opened, you can change the irobo_host as shown in the image below.

iRobo Studio Setting File image
- In same file, assign irobo_tenantName of your organization as shown in the image below.
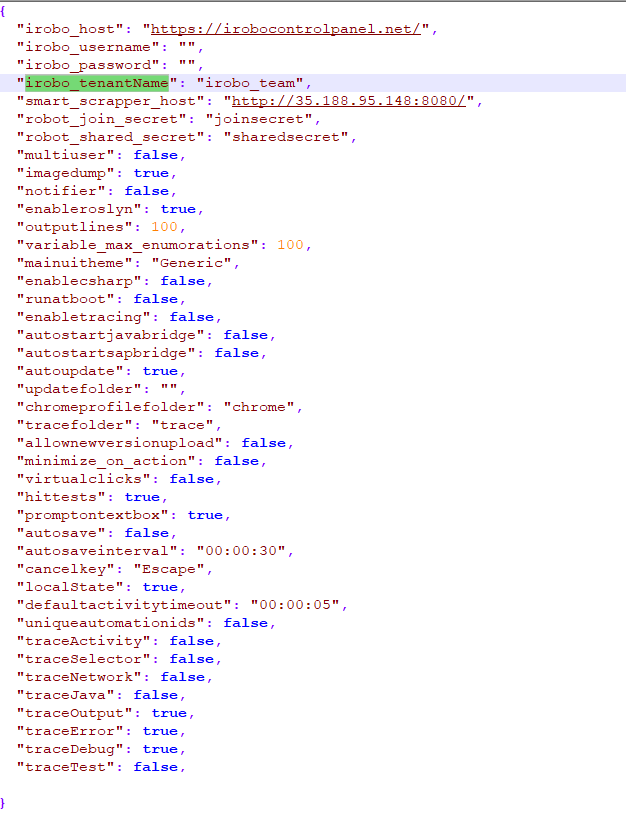
iRobo Studio Setting File image
- Save and close the Settings file.
- Close and sign-in to the iRobo Studio, now iRobo Studio is connecting to iRobo Control Panel using the credential you've changed through the settings file.
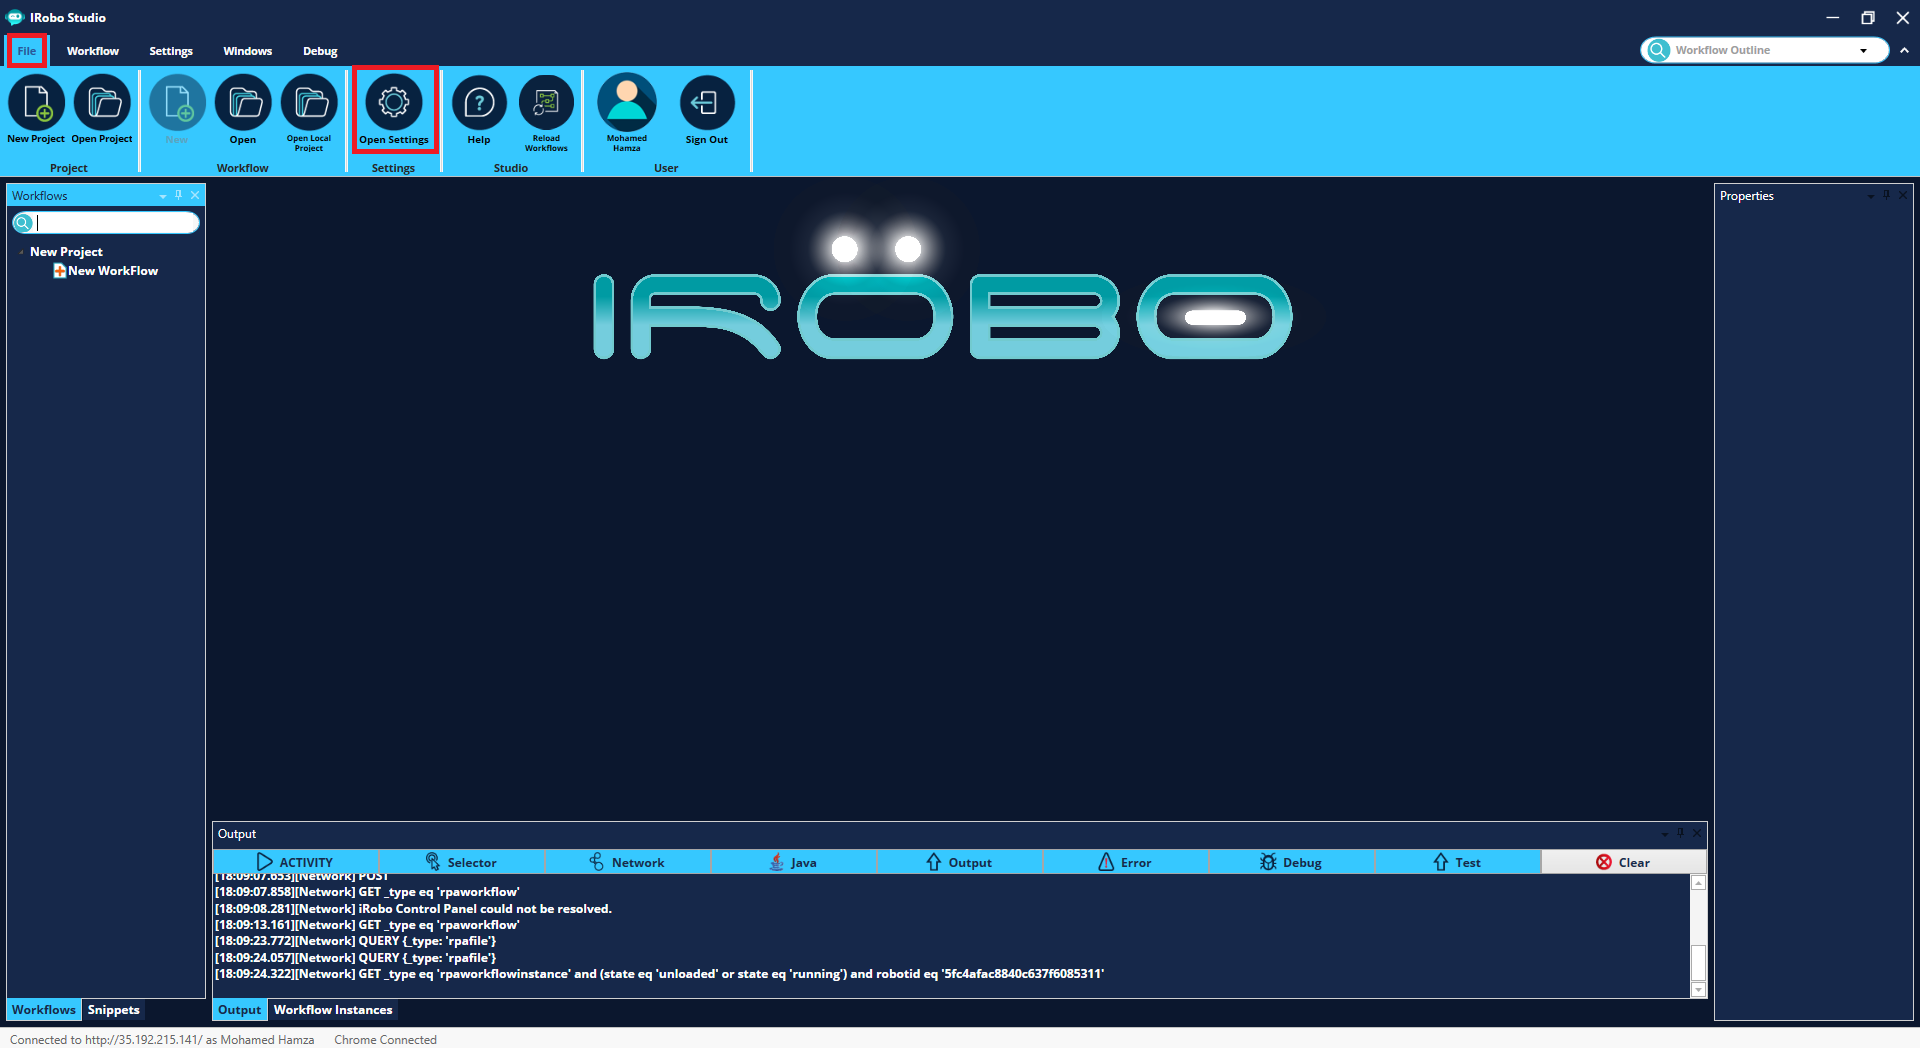
- From the file Tab, click on Open Settings to change any of your settings , as shown in the image below.
Created with the Personal Edition of HelpNDoc: Produce electronic books easily